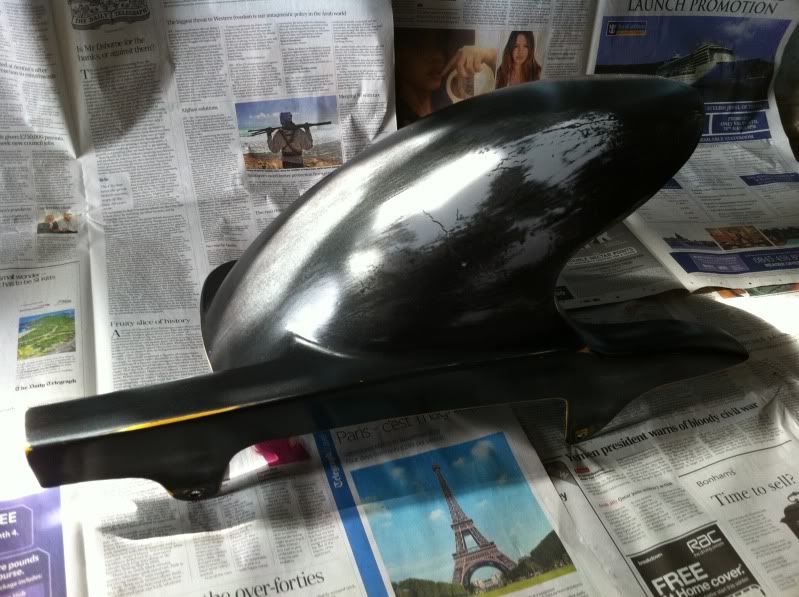
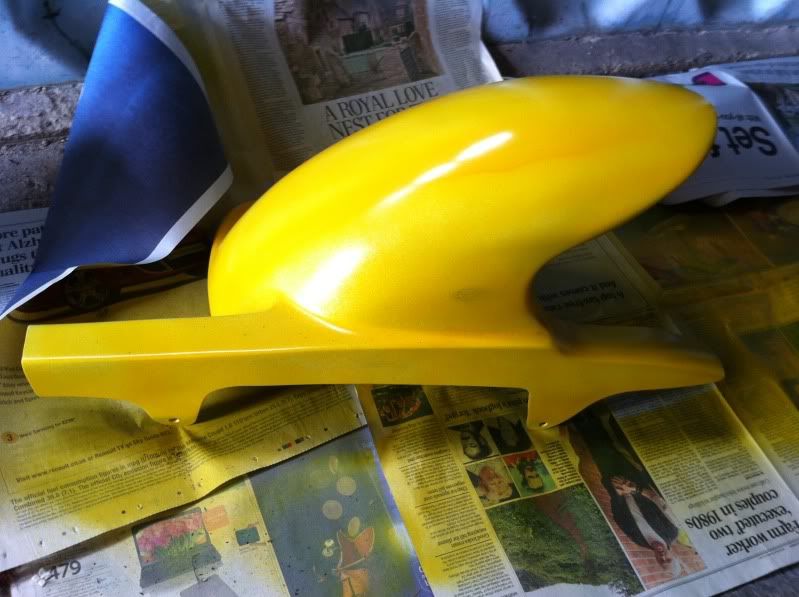
I sprayed mine in yellow, which is slightly different from spraying in red I feel. Not only is it a better colour
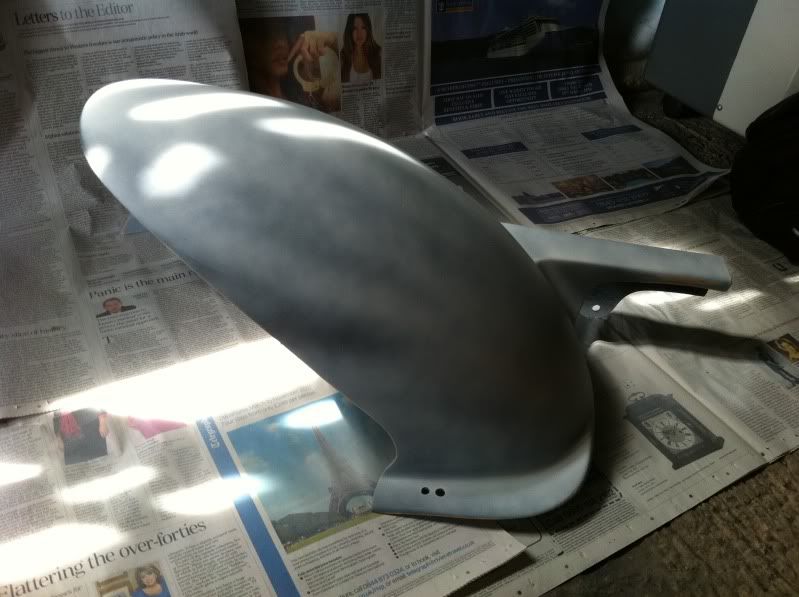
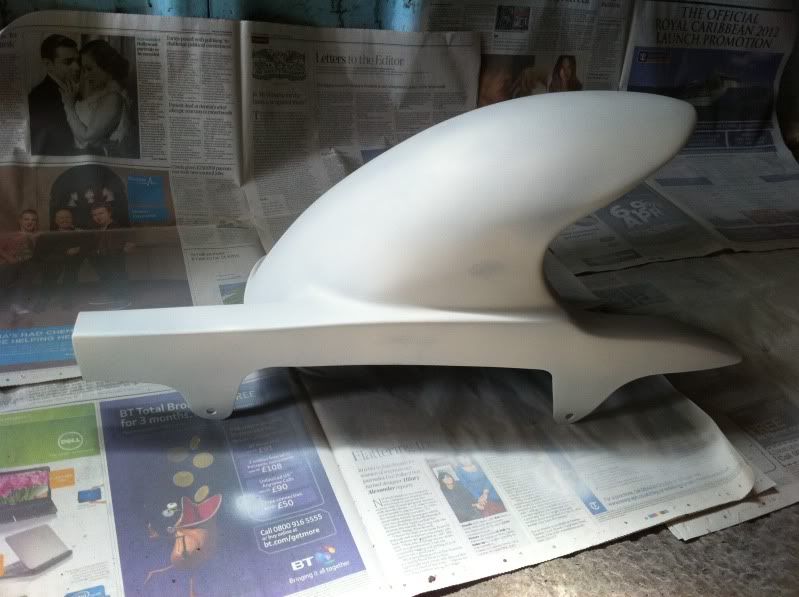
First sand down whatever it is you are spraying to key the surface. I used some pretty rough sand paper here, 80 grit aluminium oxide paper.
You need to sand the surface smooth as any imperfections will show through once you spray the primer. Dont assume that the primer will fill the holes and deep scratches, because it wont and once you spray the paint, it will show through.
The most important thing I have found out from doing this is that the spraying isnt really that hard, and to be honest, isnt the most important part. The most important bit is the preparation and that will dictate the final finish you get.
First time I did this, I sanded down the old black finish and sprayed my primer. I didnt spray enough layers and you could see through it very slightly and see the black below. I assumed that the paint would go over this ok, but it didnt and was still easily visible even after 3 coats of paint. You can see in these series of pictures below where the black was visible through the primer then it still shows right through the paint later on.
See how you can still see the little spot of black under the primer?
Still visible under first coat of paint
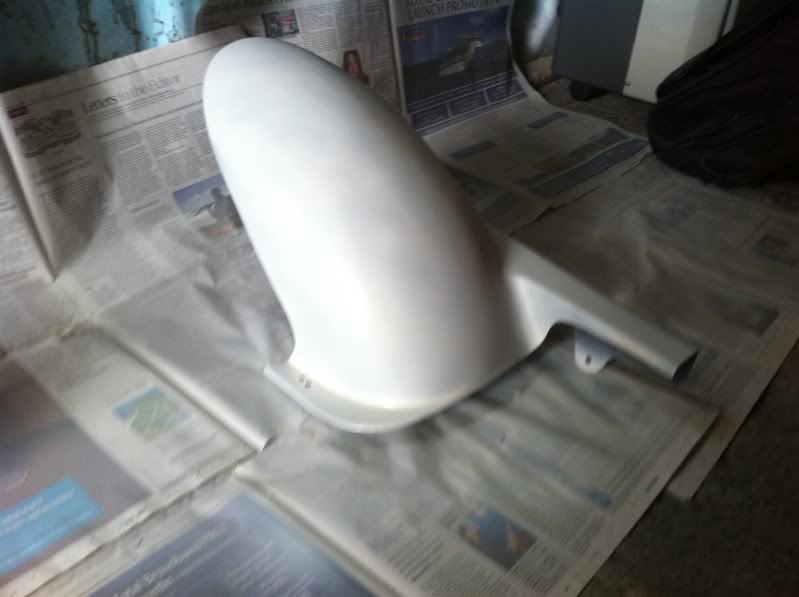
So I started again. I primed it again using white Halfords white primer after sanding it with 80 grit paper. This time I made sure it was an even coat, built up from about 4 thin coats sprayed with about 10-15 mins between each one.
I left this to dry over night, but I think you can probably get away with a couple of hours at the primer stage.
When it is dry, inspect it very closely for any imperfections. Sort them out now at this stage before you use any colour. Give the primer a smooth over with 800 grit wet and dry paper. I used the paper dry for this stage and lightly sanded it until it felt smooth to the touch. Give it one last close check to make sure there are no imperfections as this will show through on your final finish. When you are happy, you need to spray the colour.
For my colour, I went to Halfords and gave them the paint code Y124-P and they were able to match it.
The match isnt the proper paint you would get if you went to a body shop, as the yellow they use is a two stage paint, a coloured base coat then a pearl coat over the top I think.
Anyway, Halfords will provide you with a single tin of paint. It is a cellulose paint in a 300ml tin and costs about £13. For comparison, two tins of paint from a paint shop will cost about £12-15 each for 400ml and you will need them both. The white primer I used was £6.99 for 500ml by the way. I didnt use all 500ml but make sure you get enough to cover it in enough coats to cover what is below.
The spraying part isnt that hard really, you just need to be careful you dont get too much paint on at once, otherwise the paint collects and then runs down the surface. If this happens, let it dry for a few hours and sand it back with some 800 grit wet and dry paper until it looks even, then carry on with the spraying.
Im no expert at spraying, but from my experience, I would advise the following:
- spray at a good distance from the object. I held the can about 20cm away. If you hold it close, you are more likely to get runs.
- spray in a garage or somewhere sheltered from the wind.
- try not to keep the spray can still while you are holding the button, this will end up with too much paint in one area.
- start off by aiming behind the point you want to start spraying, slowly start the can moving in the direction you are going to spray and when moving press and hold the spray. As you get to the edge where you want the spray to stop, keep moving the tin but let off the button. Now repeat this in the opposite direction. I found this method easier than continuing to hold the button while going in a zig zag constantly moving.
- take your time and dont try to do it all in 1 coat. Put down a light coat and then repeat, and again, and again. It will take an hour or so to do if you wait 10-15 mins between each coat, but it will be worth it.
- try to keep any dust and crap out of the area you are spraying. Some leafy crap blew in my garage while I was doing this, and got onto the paint in one little bit. I couldnt get it off and it is now permanently stuck there, although very hard to notice.
Once you have got a nice even colour over the entire surface, let it dry overnight. Inspect the surface very closely, I didnt take any close ups, but I noticed that there were patches that looks very slightly lighter and very slightly green in colour. On very close inspection you could see that the paint in these spots was too thin and it needed another coat.
The paint that you get from Halfords has a very slight green tint to it in certain lights. It is the pearlescent effect of the paint, but the tint does look very noticable if the layer of paint you have sprayed is too thin.
It is up to you at this stage as to whether you sand the paint before lacquer or not. I read some things saying to sand it and some saying not to. I decided to sand mine with wet 800 grit paper, then wet 1200 grit paper to get it smooth before lacquering. With hindsight I wish I hadnt now, as I caught the edges very slightly and left a couple of very minor marks.
Be very careful if you sand it with the edges of objects, like around the bolt holes and bracket parts, and be very careful on the 90 degree angles like along the chain guard top/side angle bit. It is very easy to sand straight through the paint to the primer and have to start spraying colour again.
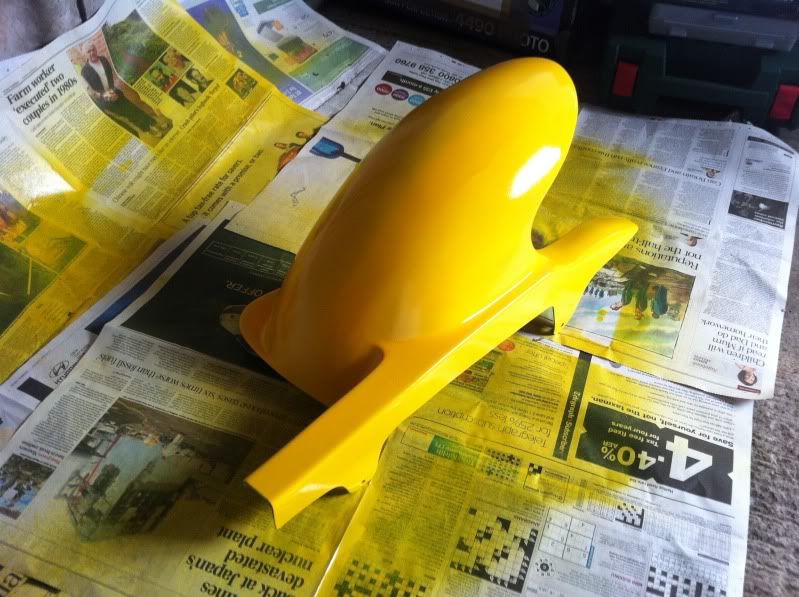
After spraying it again it looked like this

You can see that it is quite a good match to the existing yellow.
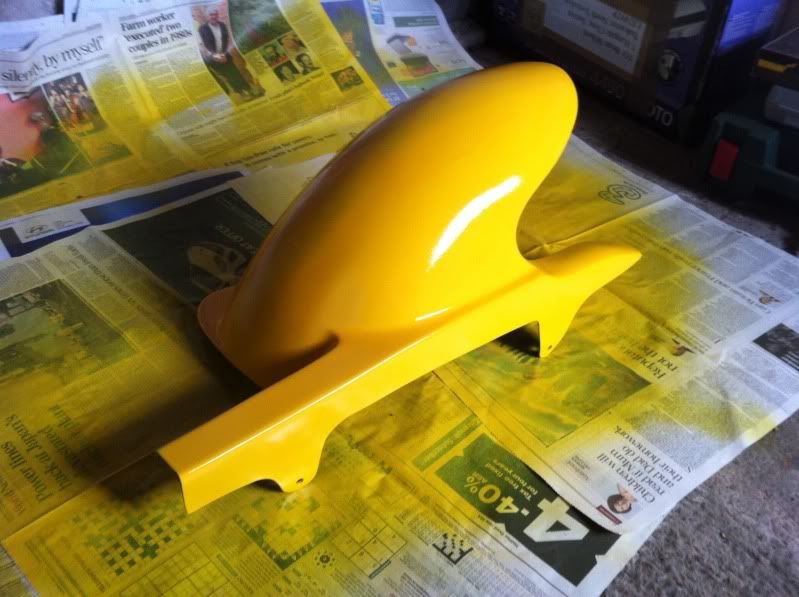
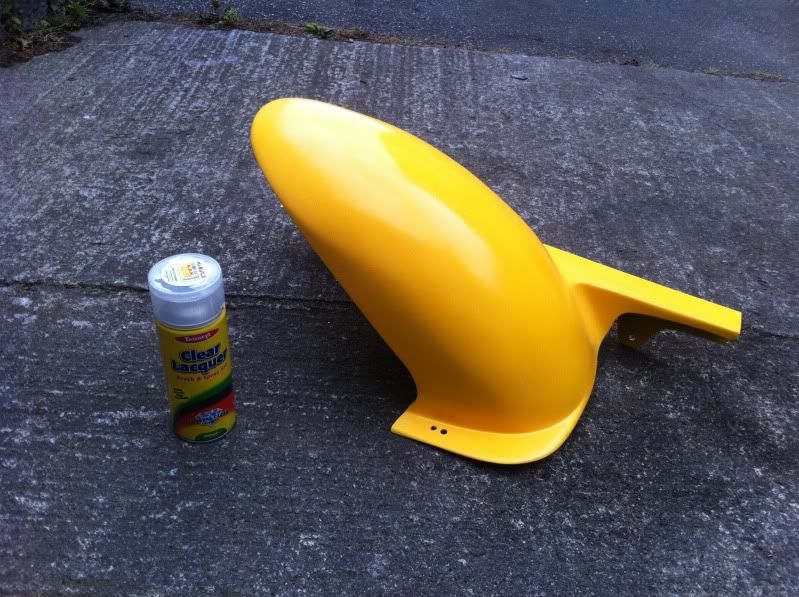
The last part is adding the lacquer. I used standard acrylic lacquer on mine. A 400ml tin was more than enough to give it 3 coats. Spray it in the same way you did the paint, giving it light even coats at a good distance making sure you dont get any build up. Lacquer can run very easily and create a crappy finish.
After the lacquer you will have a fairly shiny finish that will look kind of distorted. It seems to be important that you let the lacquer dry overnight to harden before you sand it. Before you sand it, the surface will feel fairly rough and 'bumpy' almost. You can see reflections in the paint but they look jagged and uneven.
Start with 800 grit wet and dry paper. Wet it with warm water and a little fairy liquid and make sure it stays wet by adding more water often. If you dont, the sandpaper tends to pick up little chunks of paint or lacquer that you are sanding and then scratches the surface with these.
You dont need to sand it that hard or for that long to be honest, much less than I thought it would take. Go over it until the surface loses the 'bumpy' roughness and feels smooth. Wash it off and dry it to check the finish.
Look very closely at the finish and you will see where you need to sand some more. You get a kind of 'leather' effect where the thickest and highest parts of the lacquer have been sanded and have gone cloudy but the lacquer around it maybe not as thick and high on the surface is still clear. Keep sanding with the 800 grit paper, in long straight strokes rather than circles, using water on the sand paper until you have an even finish. The lacquer you are sanding off will leave a white residue on the paint which takes some washing off and will make the surface look very cloudy.
Once you have done that, pull out the 1200 grit wet and dry and do the same again with the paper and water. After that do it with the 1500 grit paper. By the time you get to 1500 grit paper, you dont really need to be sanding that much at all. Dont rub it too hard and dont keep rubbing until you go through the lacquer. Just make sure you go over the entire surface, washing the surface off in between to check for imperfections where it needs more sanding.
When you're done, the surface will look very smooth but will look cloudy...or at least it did for me. It looked worse than it did before I started the sanding.
Pull out some rubbing compound. I used G4 paste and a clean cotton cloth.
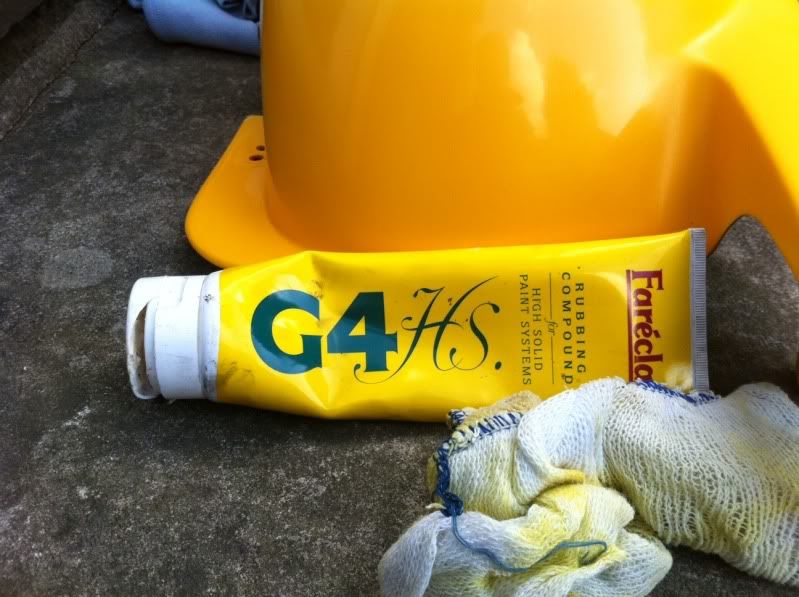
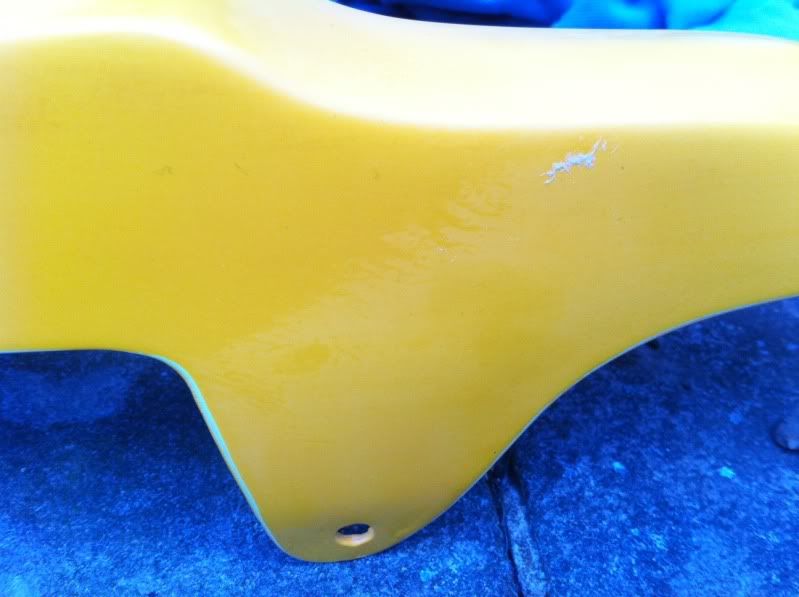
Put plenty on and rub the surface fairly hard with it. Again do this in straight strokes same direction you sanded. This rubbing compound will start to leave a very shiny finish on the surface. You can see in this picture on the left hand side where it has been done, and the right hand side where it hasnt and it is still cloudy...you can also see in this photo the slight white mark where the sanding has gone through the paint. It did this very easily and without me really even trying, but by then I didnt have enough paint to do it again and had already spent over £25 on two cans
After you have done that, it should look like a nice shiny finish, and assuming you didnt take any shortcuts will look pretty good.
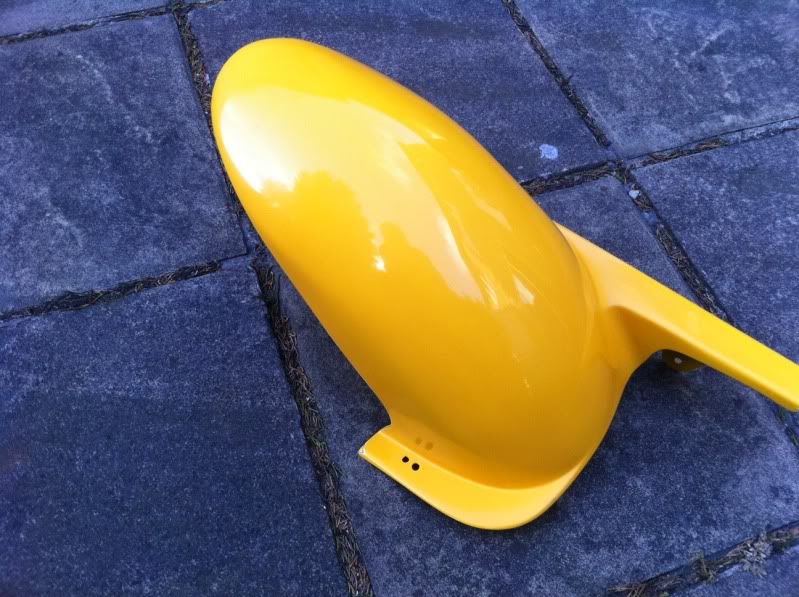
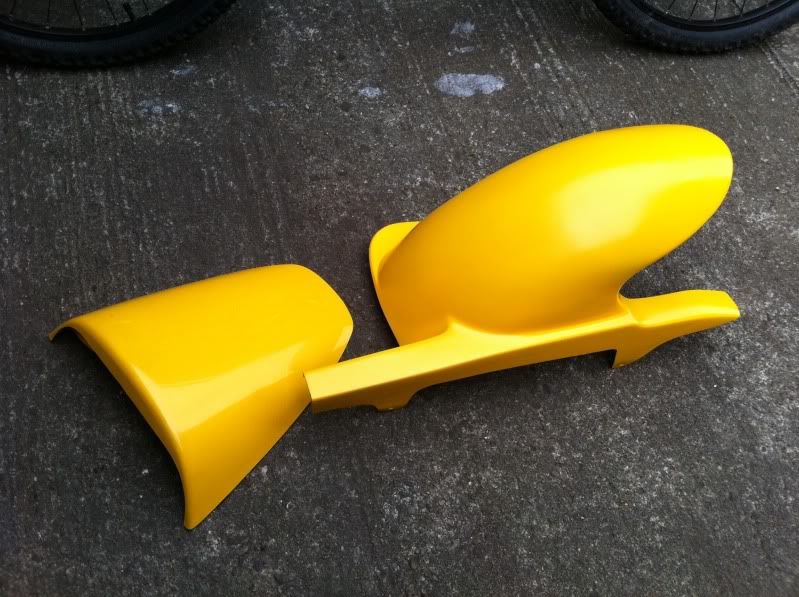
All that is left is to fit it and check how closely the colour matches your bike.
I just removed the chain side rear foot peg and exhaust end can clip to get it over the back wheel. You can see in the photos below that the colour match is ok. It isnt perfect, as in it looks perfect from some angles and lighting but very slightly darker in others. To be honest, the VTR yellow paint is strange anyway, parts always look lighter especially around the tank and top of rear fairing, and then some parts look darker almost a hint of orange usually around the radiators.
The colour from Halfords is closer to the way the paint looks at the darker parts.
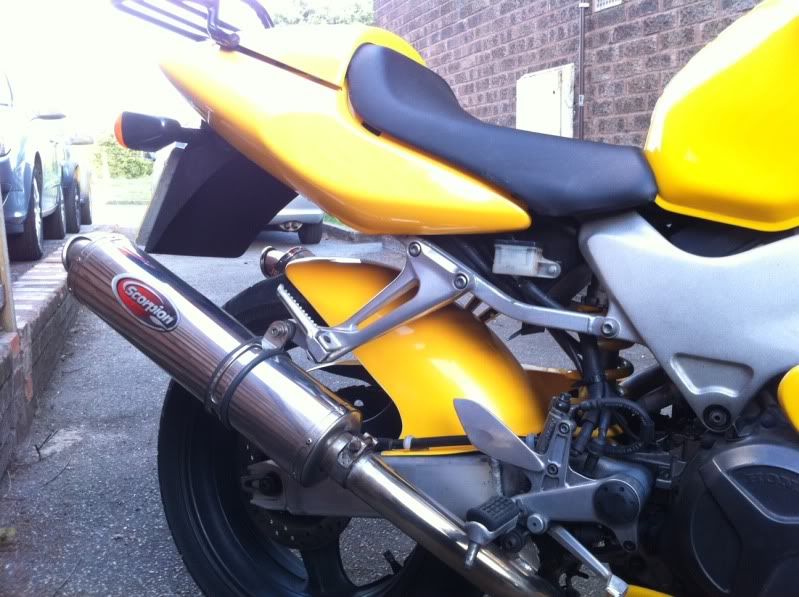
You can see here it seems to match pretty closely the parts of the bike in shade, wheras a lot of the bike around it is in direct light and looks much lighter. The difference in colour in real life isnt quite as pronounced as it looks in this photo though.
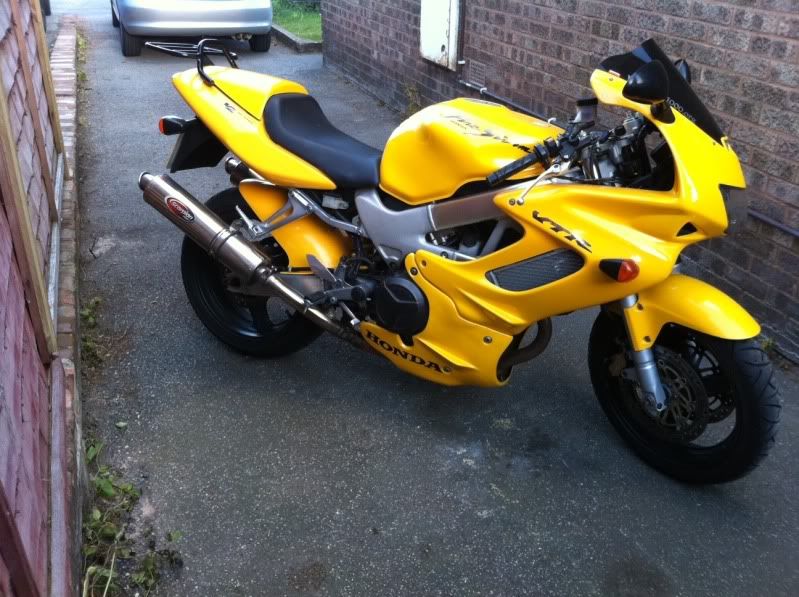
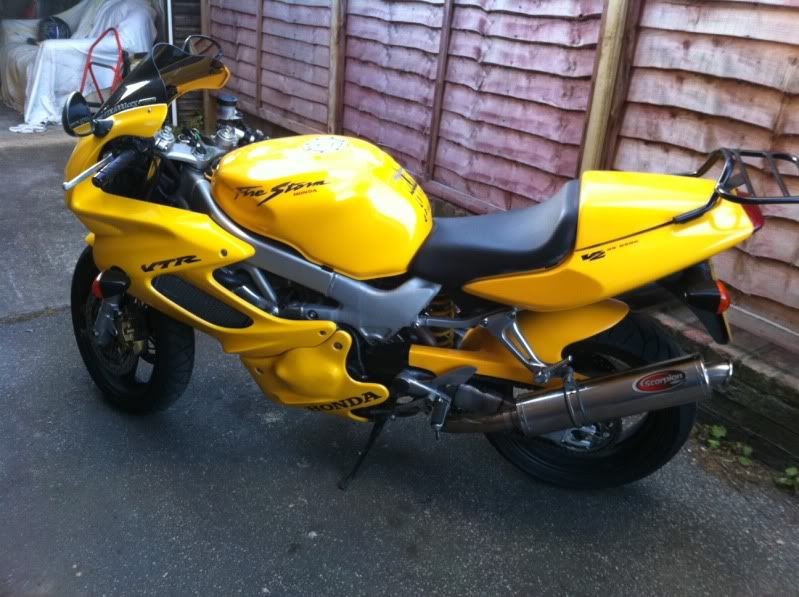
And when it is all in shade it matches quite well
Lastly, the only other tips I can think of are these:
- If you're spraying your hugger, wash all the oil off the under side before you start. I didnt do this first time and it was very easy to touch it while you are holding it to sand and then touch the paint and leave black oily marks on it, and they are a bitch to get off
- If your hugger is sat on the floor while you spray, you will struggle to get enough paint on the two little bits where the bolts go through on chain side. I had to start each coat with the hugger lifted up so that these were upside down and spray them bits first.
- Dont keep spraying from a tin of primer / paint / lacquer if it is nearly empty. It will start to come out in big droplets, and the nozzle may even begin to drip as paint collects around the nozzle hole. It will leave nasty blobs on your paint.
- Dont skip grades of sand paper when you sand the paint or lacquer, and dont start with a paper that is too rough. Start with wet 800 grit, then wet 1200 grit and then wet 1500 grit. If you want to keep going, some people advise using wet 2000 grit next.
- Make sure you wash the surface to clear off any sanding dust before spraying either primer, paint or lacquer.
- Dont be tempted to touch the surface before it is dry as you will definitely leave an oily finger print in it. Be careful of your clothes too if you need to pick it up to move it before dry, as I caught mine with the sleeve of a fleece and got some black fibres in the paint the first time I did this.
- Some lacquer manufacturers recommend not waxing the finish for 30 days for some reason. Dont know why, but I havent done mine yet. It looks nice just with the rubbing compound anyway.