For the purposes of this guide I will be be upgrading the standard Forks with aftermarket weight related Linear springs and I am also going to do a couple of mods that will improve the operation of the standard valving and rebound operation. As the Forks are going to be stripped down I will also replace the old Fork Bushes, replace Oil and Dust seals plus replace the Fork oil with fresh 7.5w Fork oil.
For more info see http://www.ablett.jp/bikes/vtr/vtr_sus.htm
Parts Required
Fork Oil Seals
Dust Seals
Upper (outer) and Lower (inner) Fork Slider Bushes
X2 1mm drill bits
1L of 7.5w Fork Oil
Linear weight related springs
(For a spring weight calculator see
http://racetech.com/ProductSearch/2/Hon ... /1997-2005
or see the following thread
http://www.vtr1000.org/phpBB3/viewtopic.php?f=9&t=26473
otherwise contact the manufacturer where you purchase the springs from.)
You will also require a way of setting the oil level / air gap so a Fork Oil Level tool is also required.

You may also require a Fork Seal Driver but this is not totally necessary as a drift and the old seal can be used.
Lets Get Started
With Forks still on bike:
1. loosen the Preload and Rebound adjusters to the max.

2. Loosen but not undo (break the seal so not tight) the top fork cap where the adjusters are.
3. Remove wheel and loosen the hex bolt from directly underneath. You will need a long hex socket for this as it goes through the base of the fork leg. Yet again your just breaking the seal here so it's not tight. If you undo it too much then Fork oil will start leaking out.
Note: The bolt threads through into the lower valve so if you have difficulty with removing and/or the inner cartridge spinning then either apply some upward pressure on the fork stanchion or downward pressure on the fork lower which in effect is pulling up on the stanchion, while undoing the hex bolt. Some assistance may be required.
(Thanks to Diabolus for his research and info on this)
http://www.vtr1000.org/phpBB3/viewtopic ... 30#p315670
Also make sure that your hex socket is seated squarely and firmly inside the bolt head. A gentle tap with a hammer is a good idea to make sure it's seated correctly because if the hex socket slips it can easily round off the inside.

You can now remove the Fork legs from the Yokes:
4. Completely undo the Fork cap at the top, go slowly and keep your hand over the top of it so it don't spring off. There should not be a silly amount of tension on it, so don't worry it wont spring off and take your hand off.
5. You will now see a locknut at the base of the cap, loosen this off. You need a spanner or socket on the top of the Fork cap as well. Once that is loosened off you can unscrew and lift the complete Compression Damper rod out from the Cartridge along with the Preload/Rebound Fork cap as one complete unit.


6. Remove the U shaped collar (spring seat) that the locknut rested on along with the washer (joint plate), spacer (joint collar) and another washer (joint plate).

Now is a good time to tip the old oil out, also pump the Stanchion up and down a bit as this gets a bit more oil out and if you can pump the Cartridge Damper tube where the Rebound rod slid out from, this will get the old oil out of the Cartridge (the oil squirts out as you lift the Cartridge Compression Damper tube up, not on the down stroke

7. Now completely undo the hex bolt and copper washer at the base of the Fork leg and you can lift the complete Cartridge unit out from the Fork.

Watch the Ally foot at the base of the Cartridge which the hex bolt goes through does not slide off. This is only held on by the Stiction from the oil that holds it to the Cartridge. If you give the lip of it a tap it will fall off. You may now want to pump the Compression Damper tube a few more times to flush any old oil left in the Cartridge out.

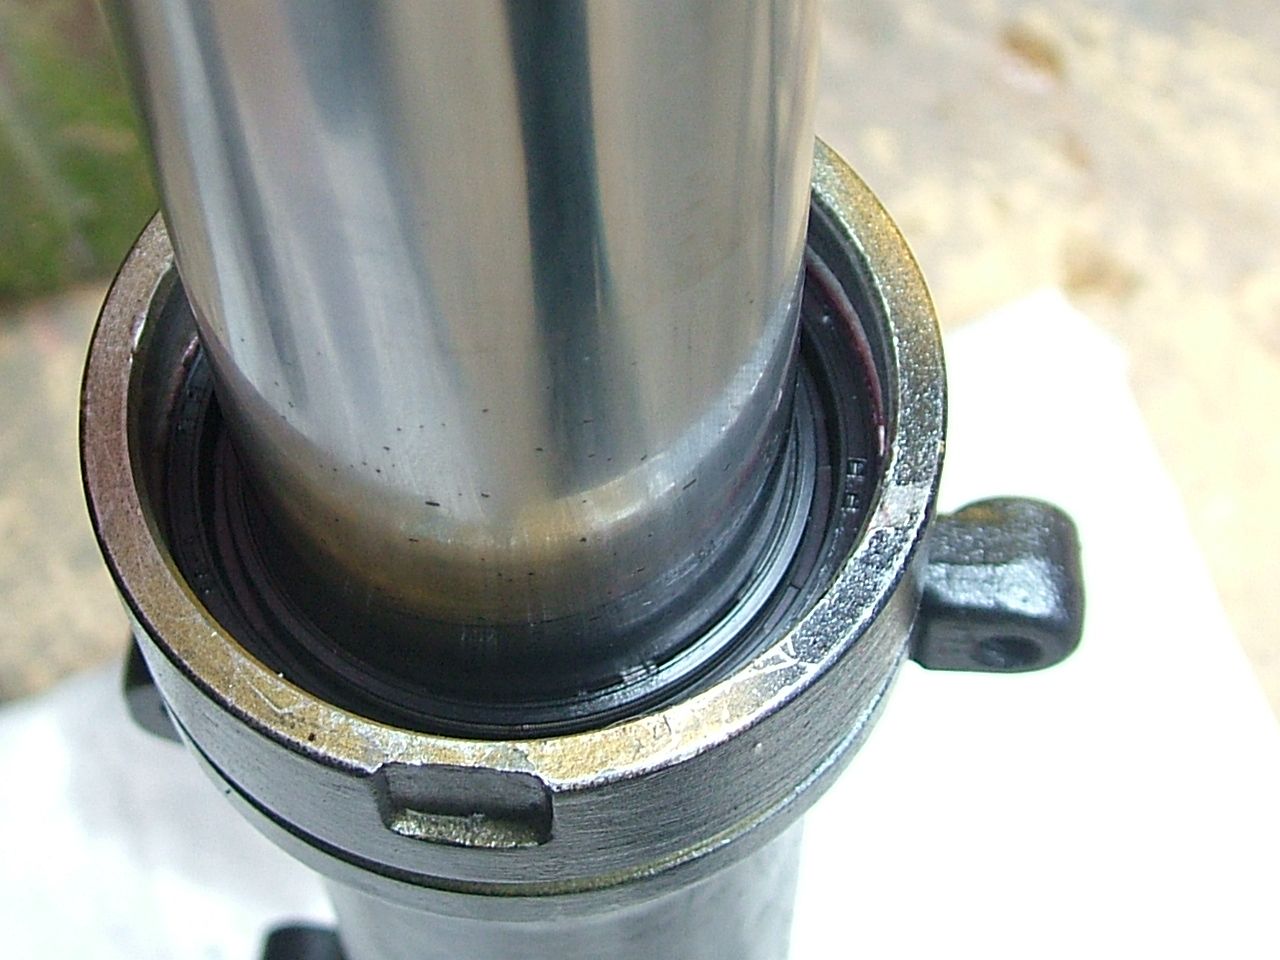
8. That's the messy bit done. Now you can prise off the dust seal and remove the snap ring with a small screwdriver or pick that keeps the oil seal in place. Once these are removed slide the Stanchion up and down with some force like a slide hammer and it will pop out along with the Oil Seal, back up ring washer and top (outer) Bush. Don't throw the old Oil Seal out just yet as you will need this later.

9. That's the Forks all stripped down and ready for working on. You may want to give everything a good clean and flush through with some water or cleaning solution to get rid of any remains of old oil and contaminants.

Fork Modifications:
Compression Damper Rod Taper
The Rebound on the standard Forks is not so bad but there are improvements to be made by grinding the taper to a straight taper this will give you a bit more adjustment on the Rebound.
Note the stepped taper on the original.

Measure up from the step 5mm as this is where the taper ends, then grind the step down so there is a continuos taper. It's best to use a bench grinder for this as you can rest the rod to keep it still and swivel the rod around in your fingers as you grind. I used a Dremal which I clamped onto my workbench.
Please note that you keep the flat tip.

Once this has been ground down you can then use some Wet and Dry (silicon carbide) paper to smooth things off.
Cartridge Body Relief Hole
For this modification your going to drill a 1mm relief hole 25mm up from the top of the Ally foot on the Cartridge body. This will improve the operation of the internal valving inside the Cartridge.
First off put the Ally foot back on if it was removed earlier and measure 25mm above the top of the foot and place a mark where your going to drill a 1mm hole.
Do not just go and drill the hole straight away or you risk damaging the internal valves. Before you drill the hole you need to remove the insides of the Cartridge body so there is no risk of drilling into anything and also so you can de-burr the inside after drilling so it's smooth.
To remove the insides of the Cartridge remove the Ally foot, then take the hex head bolt that came out the base and screw this a little into the base of the Cartridge.

Give this a gentle tap with a soft hammer up inside the Cartridge tube and it will reveal a Circlip type clip that can then be picked out with a small screwdriver or fingers. Be careful not to loose this if it springs out.

You may have been able to push the insides far enough up inside so that it gives you space for drilling and de-burring, otherwise you will have to pull the insides out by pushing back down on the Cartridge Damper tube on top until it all slides out from the bottom.

It is now safe for you to drill the 1mm relief hole where you marked it 25mm up. You will most likely need one drill bit for each Fork leg as they blunt quickly and you want a nice smooth cut. They also very easily snap so don't use too much pressure and let the drill bit do the work.

Once this is drilled through make sure you de-burr the inside of the tube with some Wet and Dry paper. It's easier if you wrap the paper around your finger and then shove your finger inside the tube to get at it. Then give this a wash out to get rid of any debris.
Once complete re-insert the insides and put the clip back in place making sure that it slots back into the groove.
Time for the rebuild:
1. Replace lower (inner) Fork Bush by prising the old one of the bottom of the Stanchion and carefully putting the new one on.

2. Fit the top (outer) Bush over the Stanchion and slide the complete Stanchion back inside the Fork lower. You may have to gently persuade the Bush to go down inside it's recess that sits just below where the Oil Seal goes, between the walls of the Stanchion and Fork lower.

And place the back up ring washer back in on top of this

3. Now it's time to put a new Oil Seal in place over the top. Make sure it is the right way around. So slide the seal over the Stanchion and down into place. Before tapping it down into it's seat apply a little Red Rubber grease or Fork oil around the edge of the seal to help it slide into place.
Sand a bit off the outside edge of the old Oil Seal so it does not get stuck inside the tube and use this over the top of the new seal to prevent damage to the new seal. If you have a Fork Seal Driver then great as the right tool for the job makes life easy, but this is not totally necessary. You can either find a suitable tube that will slide over the Stanchion and onto the Oil Seal and use this as a drift to hammer down. Or as I done which was to gently tap down around the outside circumference of the seal with a suitable drift so it goes down squarely into place, then take the old seal back out.

4. Now put the snap ring back in place over the top making sure that it locks into the groove. You can then put the Dust Seal back on top. This may also require a smear of Red Rubber grease or Fork oil to ease it into place.

5. Slide the Cartridge back into the Fork leg. You may have to put a smear of grease on the inside of the Ally foot so it stays in place when sliding the Cartridge back down into place. Be carful that this does not fall back off.

6. Refit the hex head bolt in the base of the Fork lower and tighten but do not torque back up just yet, into the Cartridge to hold it in place. Use some Threadlock around the thread and don't forget the Copper washer. Either use a new Copper washer or heat the old one up to Re-Anneal it and make it soft so you get a good seal.
For more info on Annealling
http://www.motorcycle.co.uk/reference/a ... um-washers

Now for the critical bit:
We shall now be filling with fresh Fork oil, setting the air gap and adjusting the spring/spacer height. We will be using 7.5W weight Fork oil and a 140mm air gap. If you are a heavy breaker then this gap can be reduced to 135mm. With this weight oil and air gap. The spring and spacer height should equal the same as the OEM spring and spacer which is a total of 410mm. The original Progressive spring is 310mm and the spacer is 100mm. You cannot decide on spacer length until you have the measured of the new springs. I will be fitting Linear springs that are 320mm so therefore I need to remove 10mm off the spacer so it equals a total of 410mm. You may have to take off more or less depending on the length of the springs that you purchase. Some aftermarket springs will be as long as 410mm already so the spacer will not be required. Changing the ratio of spring to spacer and progressive to Linear springs does make a significant difference.
There are other ways of tuning Forks by using a different weight Fork oil or air gap or even playing with different spring and spacer lengths. But this method is what is recommended by Revolution Racing and allows you to get the correct sag which is the main purpose of the operation. You will end up with far more usable adjustment on the Preload and Rebound controls.


7. Half fill each Fork leg with with fresh oil, roughly 250ml in each leg and bleed off the Compression Damper tube in the Cartridge. You do this by lifting the Damper tube up and down through it's travel slowly, which fills the Compression Damper up with oil and gets rid of any trapped air. Oil will squirt out the top of the Compression Damper tube like a fountain on the up stroke once complete. You may have trouble grabbing the end of the tube with your fingers so either use a pair of long nose pliers or compress the Stanchion down to gain access.
Once this is complete compress the Stanchion down fully and you can then top up with oil. This will more than likely be overfull but you will be removing any excess oil when setting the air gap.

8. To set the air gap you do this with the Stanchion compressed down fully and no spring. Set the measurement on your Fork oil syringe to 140mm and lock off the cap. Place the rod of the syringe inside the Fork with the cap resting on the top of the Stanchion, you then draw any excess oil into the syringe which leaves you with an air gap off 140mm.
9. Work out your spring length and cut down the Spacer as is appropriate so there is a total of 410mm. I found it best to mask off the Spacer and cut a straight line through it with a Dremal cutting disc and then clean the edges up.


10. Once this is done you can then slide the spring over the Compression Damper tube inside the Fork, refit the the washer (joint plate), Spacer, washer (joint plate) and the U shaped collar (spring seat) making sure that the locknut on the Compression Damper tube sits above the collar.

11. Slide the Compression Damper rod back inside the tube and screw it back onto the threaded part of the Damper tube and lock off the locknut. Lift the Stanchion tube up and push down on the Fork cap and thread it back into place.


12, You can now put the Fork legs back into the Yokes on the bike. And torque up the lower hex head bolt and tighten fully the top Fork Cap.


Job Done:
I wont go into setting up the Sag as this info can be found elsewhere and to be honest this is a bit of a grey area for me and something I am not that knowledgeable about.
Have a play around with the Preload and Rebound and you will instantly feel the difference and will soon find what feels right for you. You will also find that you will want to adjust the settings to compensate on the rear shock.
(:-})