The forum will only accept pictures that are linked from a third party image host. For the purposes of this step by step guide I will be using photobucket which is my preferred image host and resizes images for you on the fly.
Photobucket is a free image hosting site that allows you to create galleries, upload and edit images. You can either have these gallery's made public or password protect them for private viewing. Though I prefer to use Youtube for Movies, photobucket also allows you to upload Movies too which is kind of handy at times.
Please note that the photobucket features require the latest version of the Flash plugin to work. If you have not got the Flash plugin installed or is out of date then you can get the latest version from the following http://get.adobe.com/flashplayer/
Photobucket offers many options and features which I'm not going to go into here as there are far too many. This guide is most simplistic way I can describe for uploading and posting images within your posts.
Step One
If you don't have one already then first sign up for a free photobucket account.
http://photobucket.com/
They do offer a premium service but there is no need for this unless your a heavy user posting 100's of images. Sorry I can't remember the limit but it helps if you don't upload large file sizes. Think about resizing images beforehand.
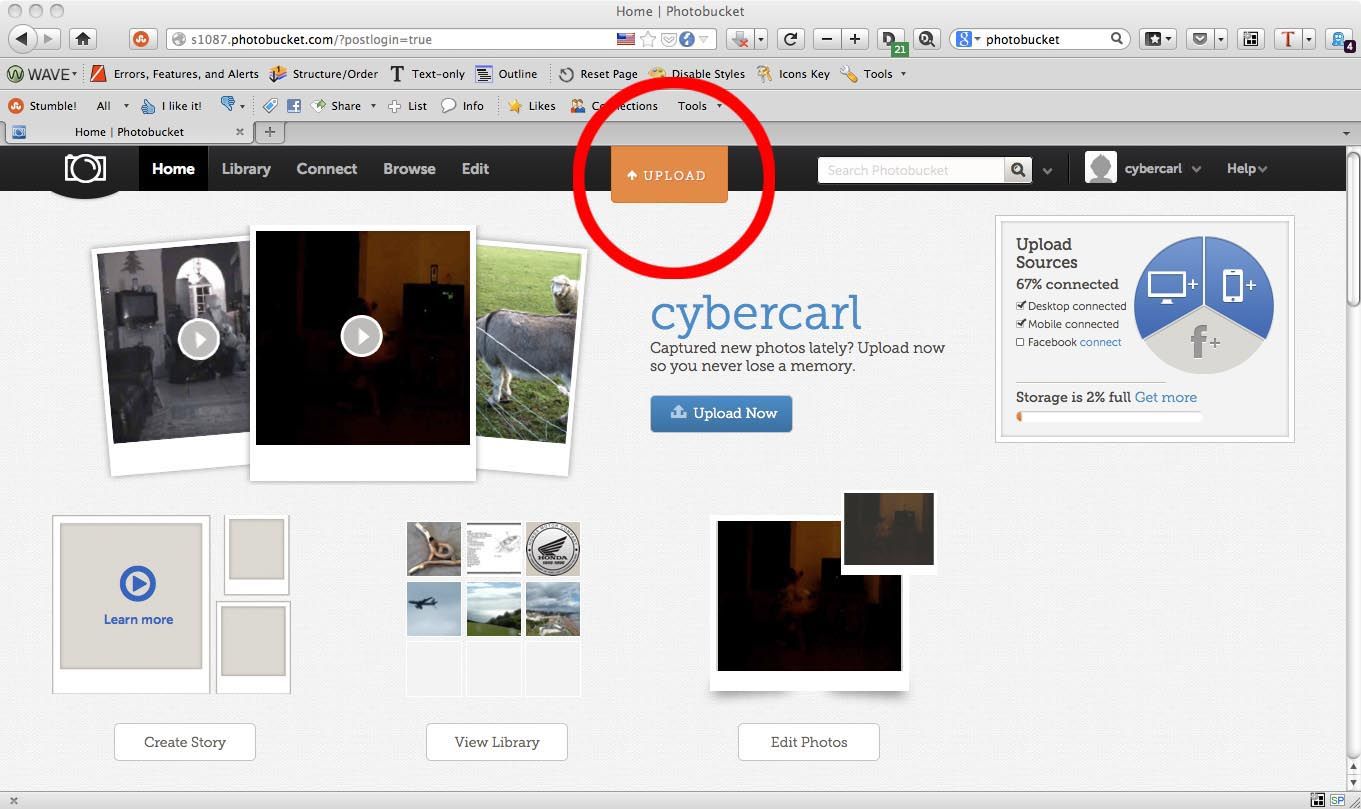
Step Two
Log in to you account and select Upload Image.
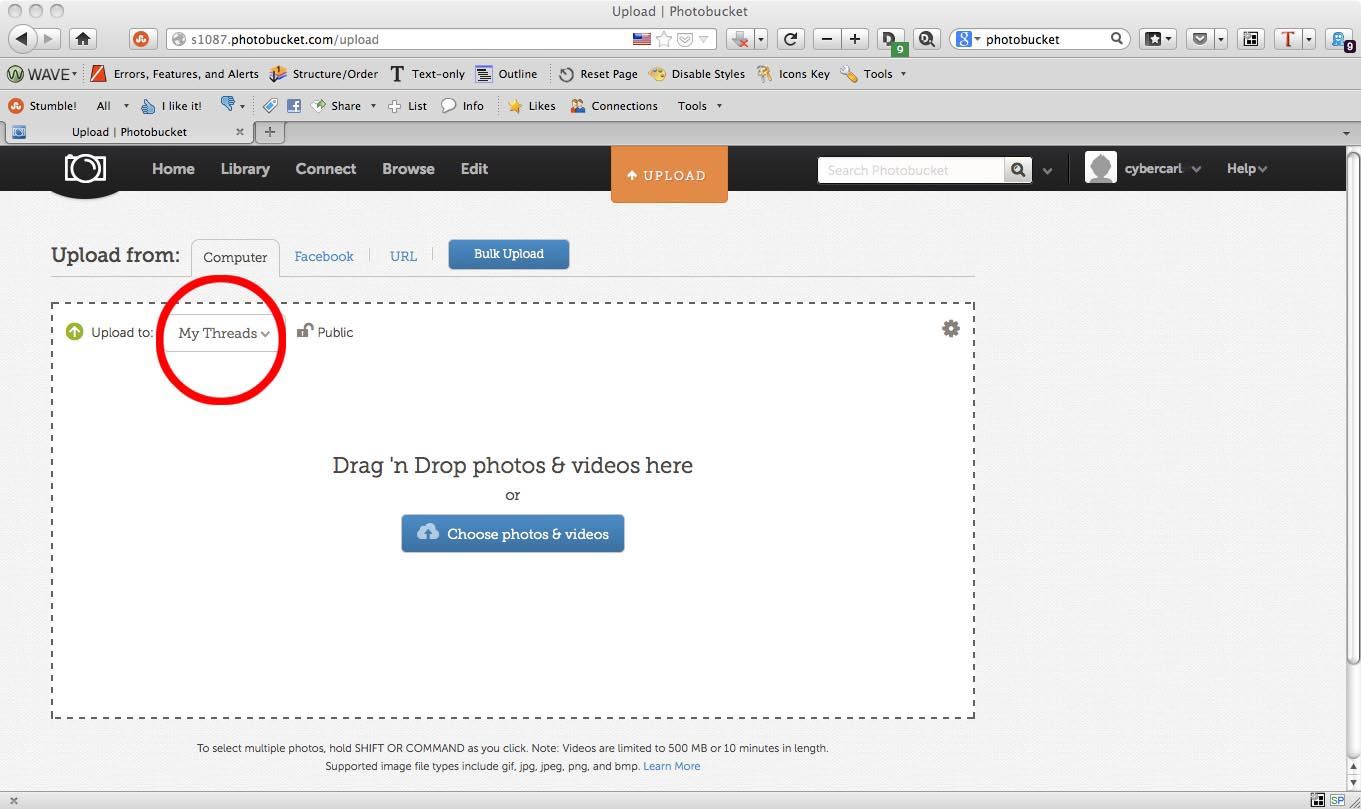
Step Three
You then select where you want to upload your image or images too.
There are various ways of uploading an image, you can either drag and drop or manually search for images on your drive via the Choose photos & videos dialog button. There is no reason to resize images beforehand as they will get resized on the fly as they are posted in the forum. There is an edit feature that can be used to resize images, change orientation, adjusts colours etc. But to be honest, if needs be, these are all best done beforehand in a third party image editing/graphics software before uploading online.
Step Four
While the image or images are being uploading you will get a progress bar and once finished thumbnails will preview along the bottom of the uploader.
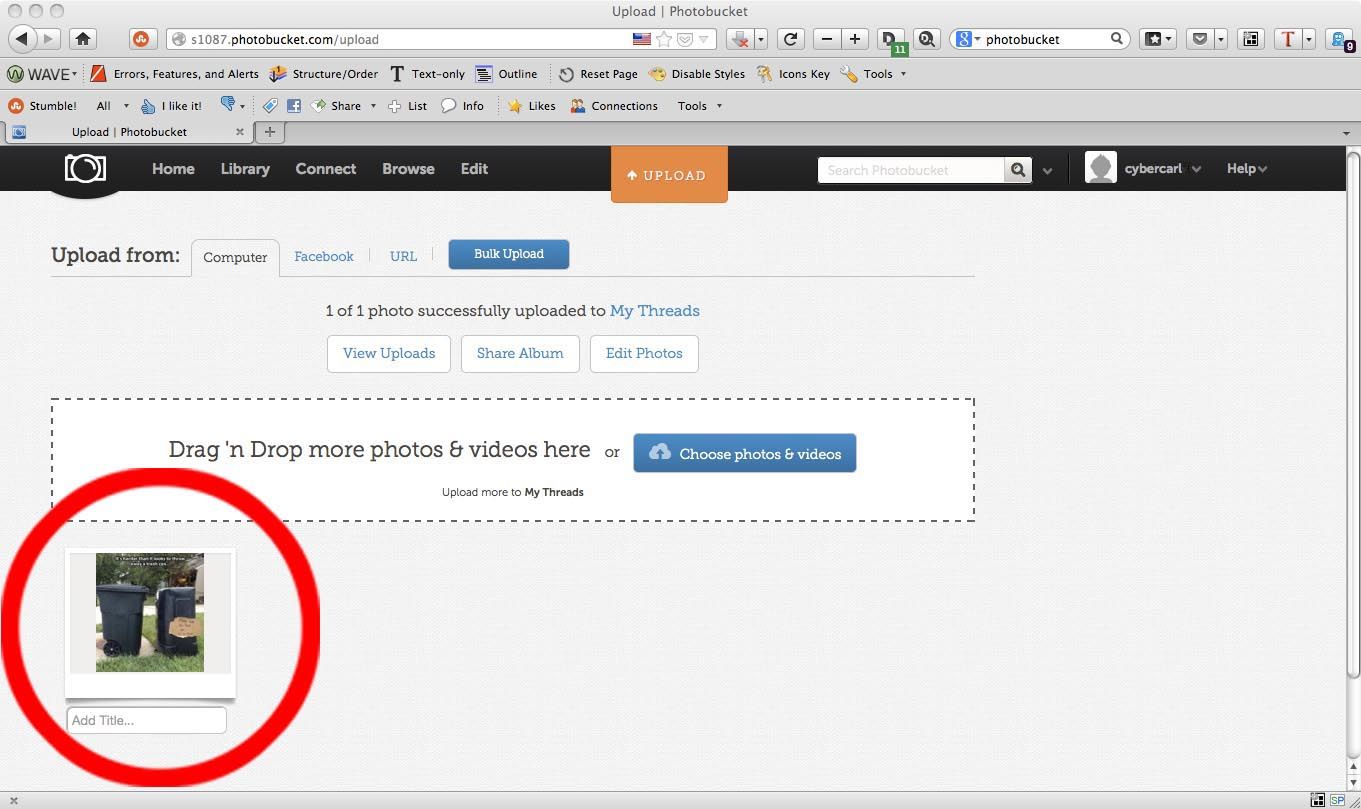
From here there are various routes you can take, you can either View Uploads, Edit Photo's or select the thumbnail image which will take you direct to that image.
Note the links on the right hand side.
If you go via the View Uploads it will take you to the album you uploaded to.
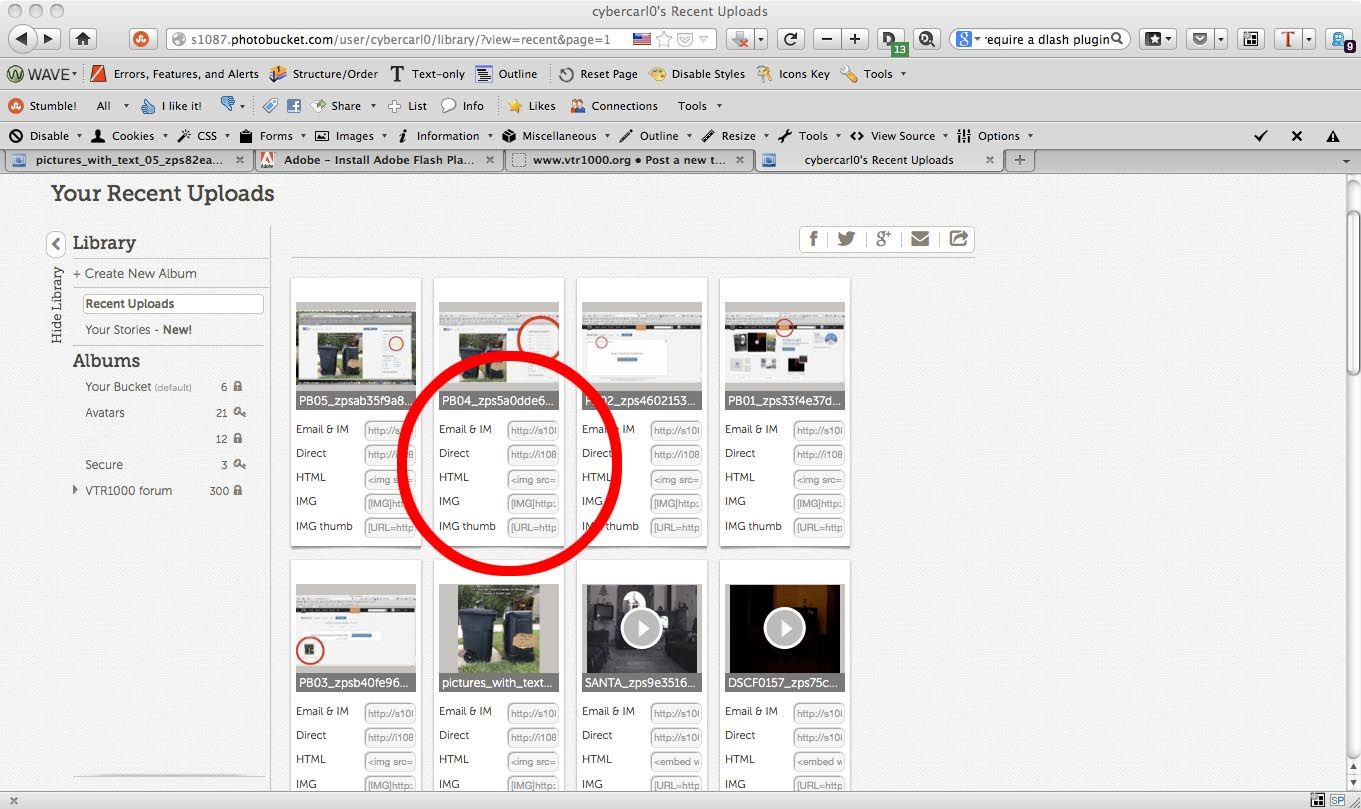
Note the links directly under the thumbnails.
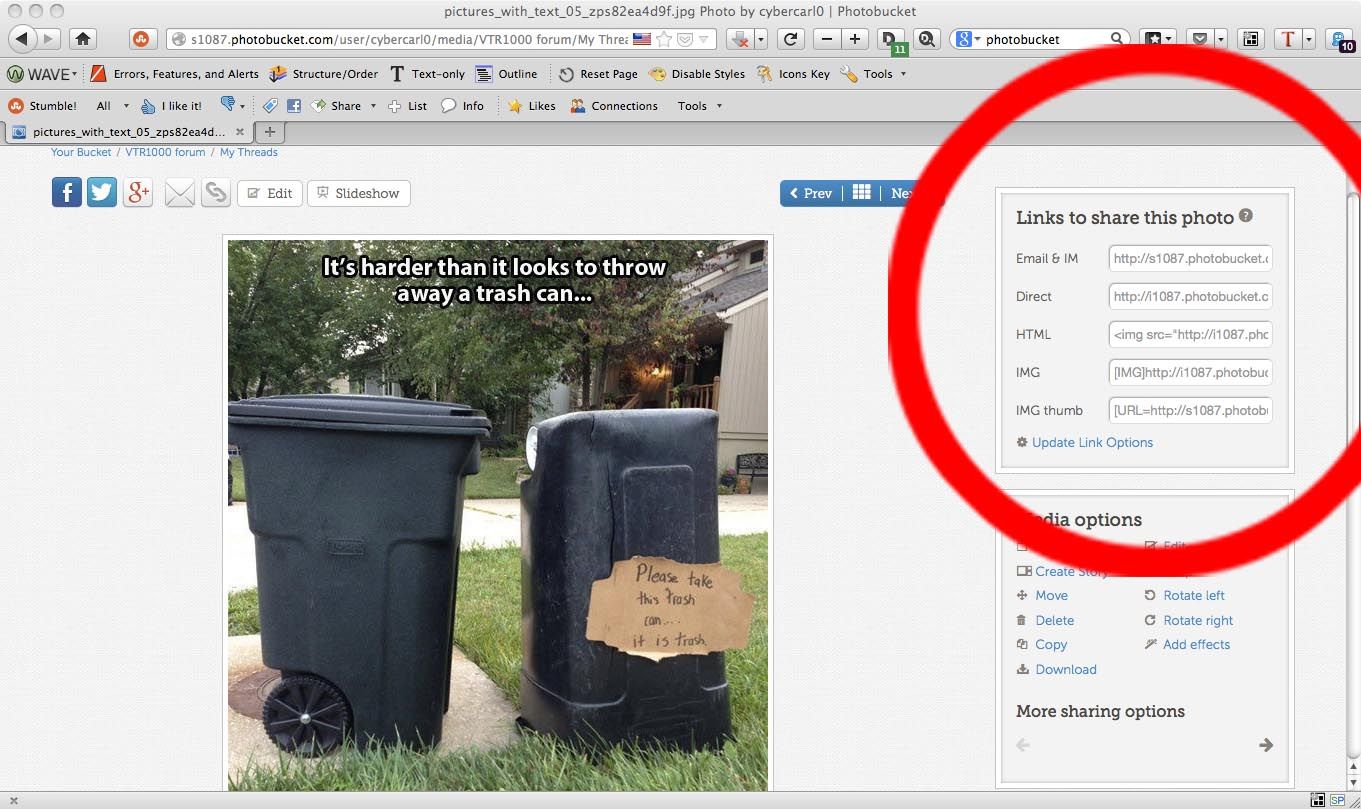
You can either copy and paste the image link code from underneath the thumbnail or select the thumbnail itself which will take you to the full image with links on the right as above.
Step Five
Which image link code do I use I hear you ask. The positions of your links may vary but on mine it's the Fourth one down IMG, use this to post a full size image directly in forum posts.
Note you can update or customise which links show in the options.
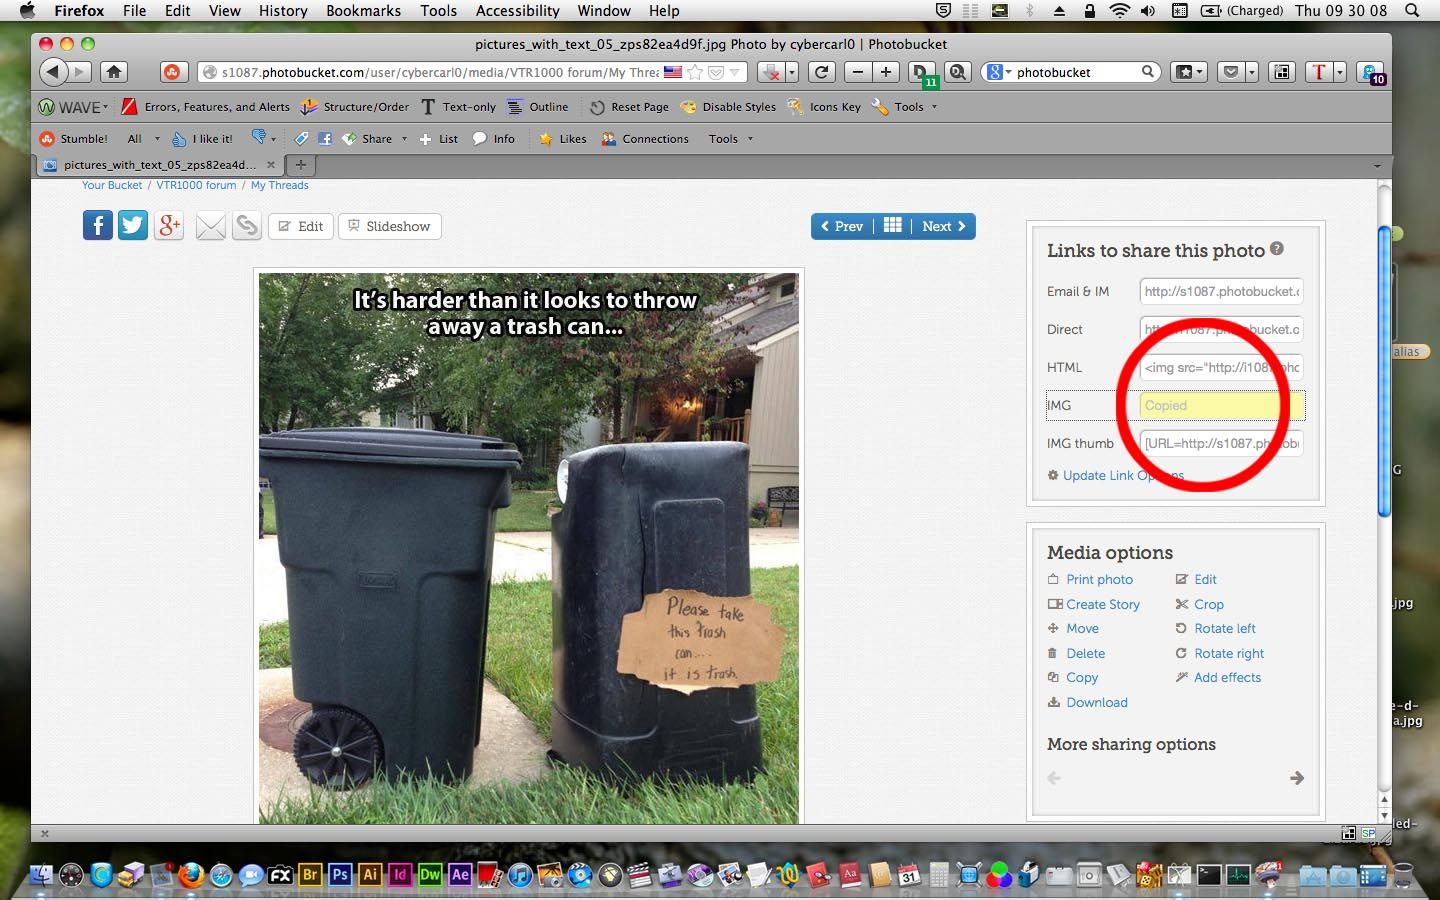
Select the IMG link field and it will highlight as it is automatically copied to your clipboard.
Step Six
OK now you have your image uploaded and link copied you can move across to
your forum post.
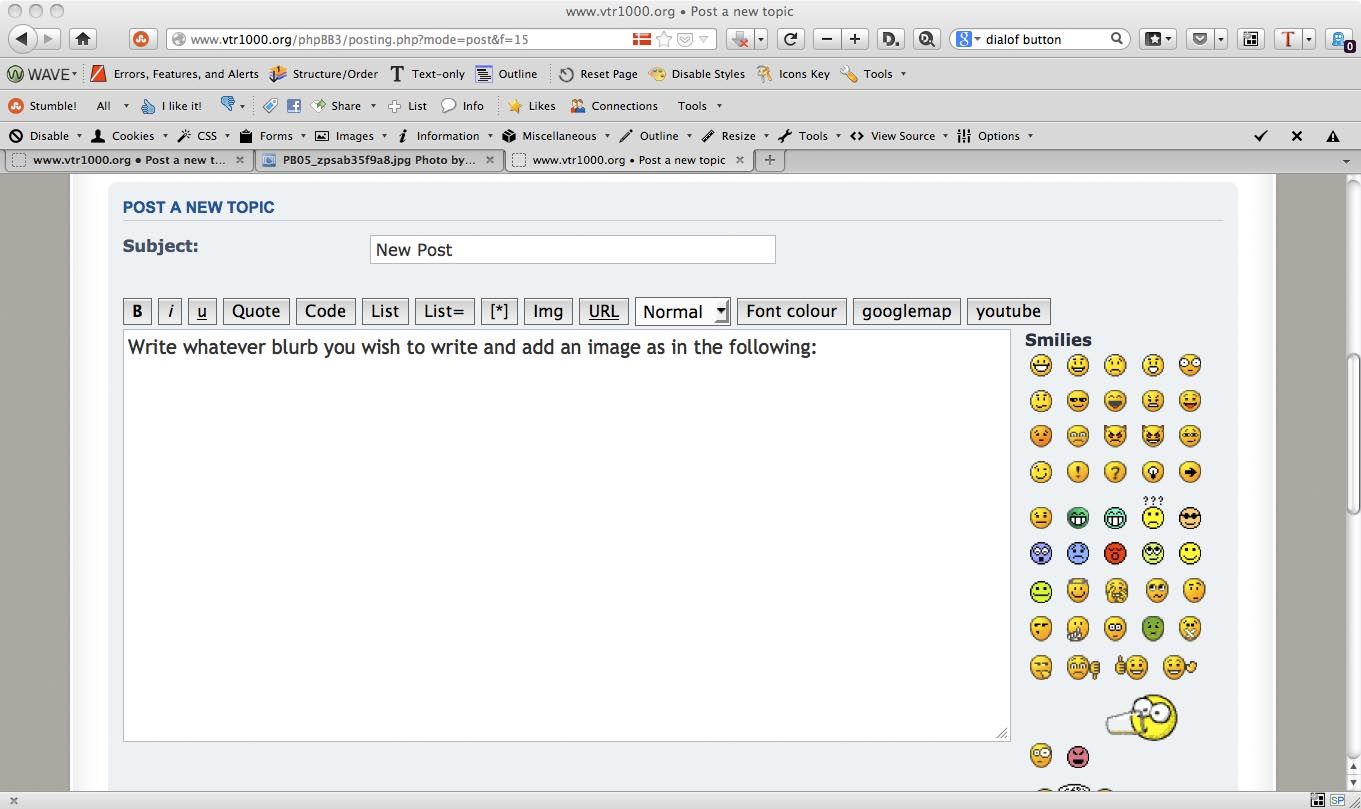
To add an image just simply paste the code you copied earlier from photobucket and past into your post where you want the image to appear.
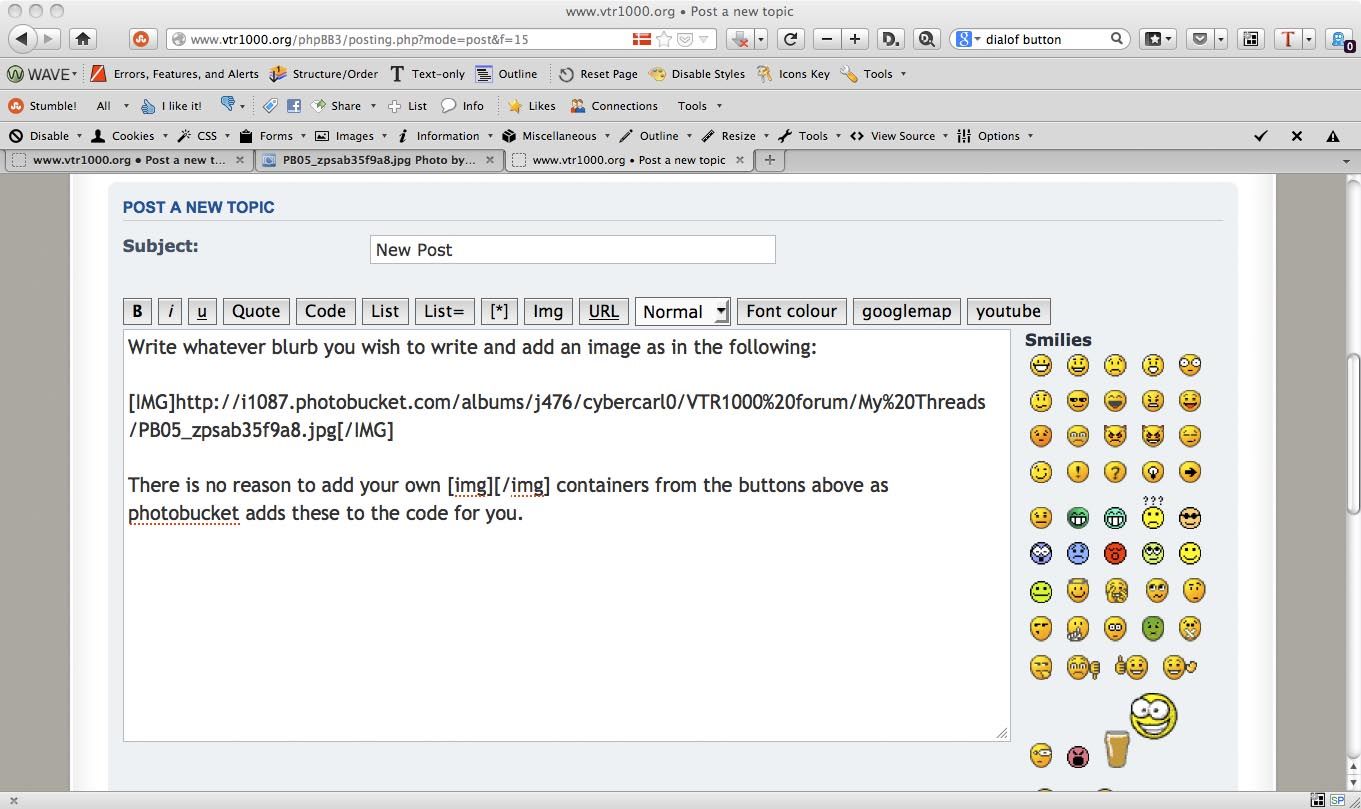
There is no reason to add your own
Code: Select all
[img][/img] It's a straight copy and paste from the photobucket link and you end up with the following.
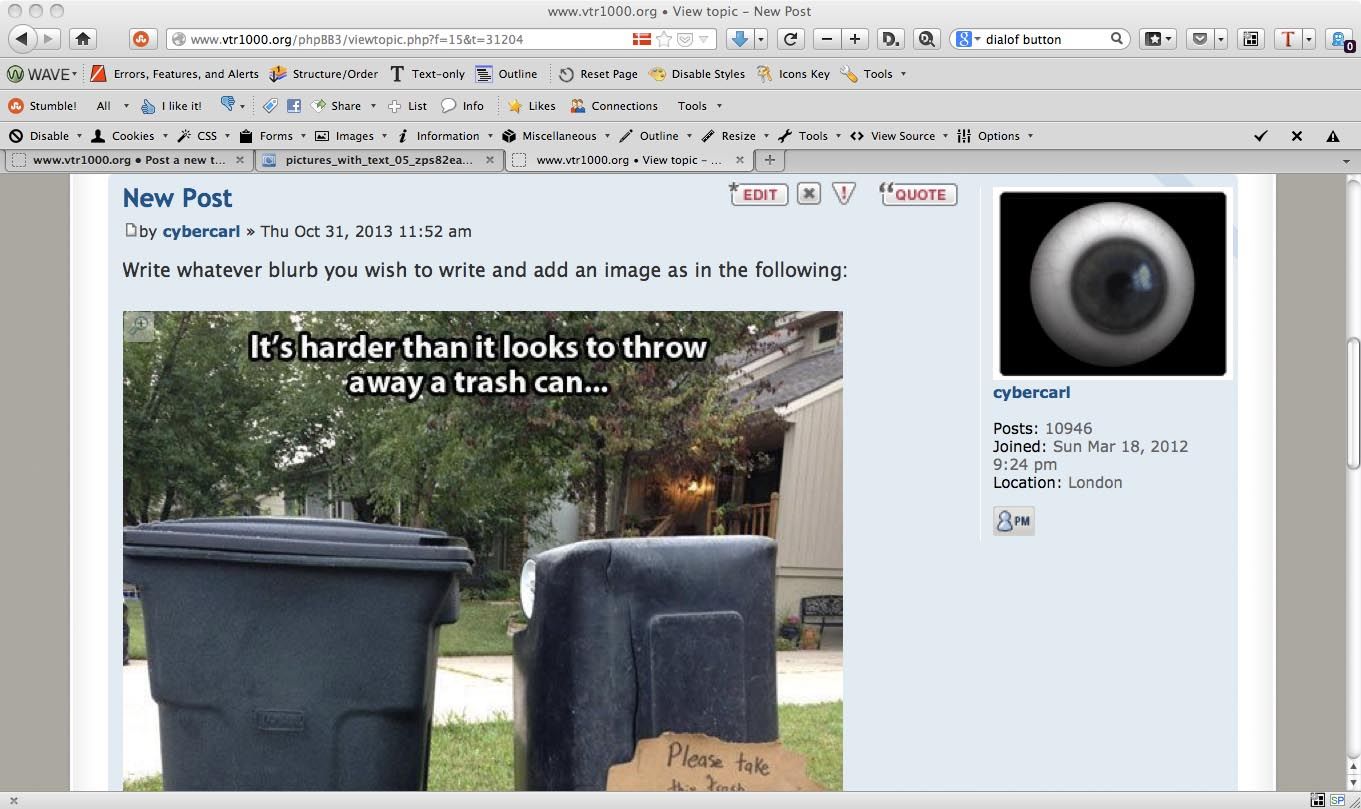
http://www.vtr1000.org/phpBB3/viewtopic ... 04#p302875
(:-})