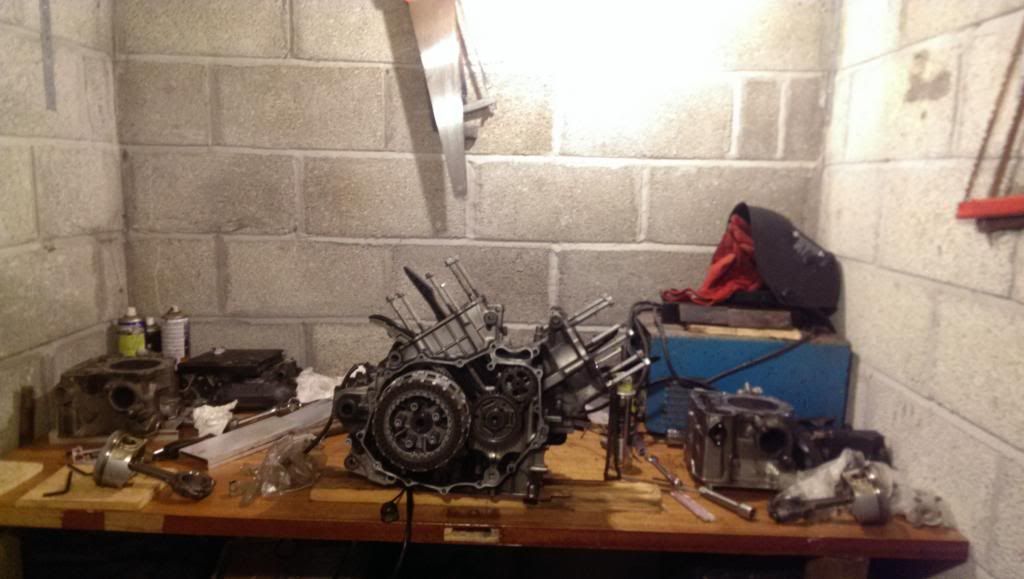
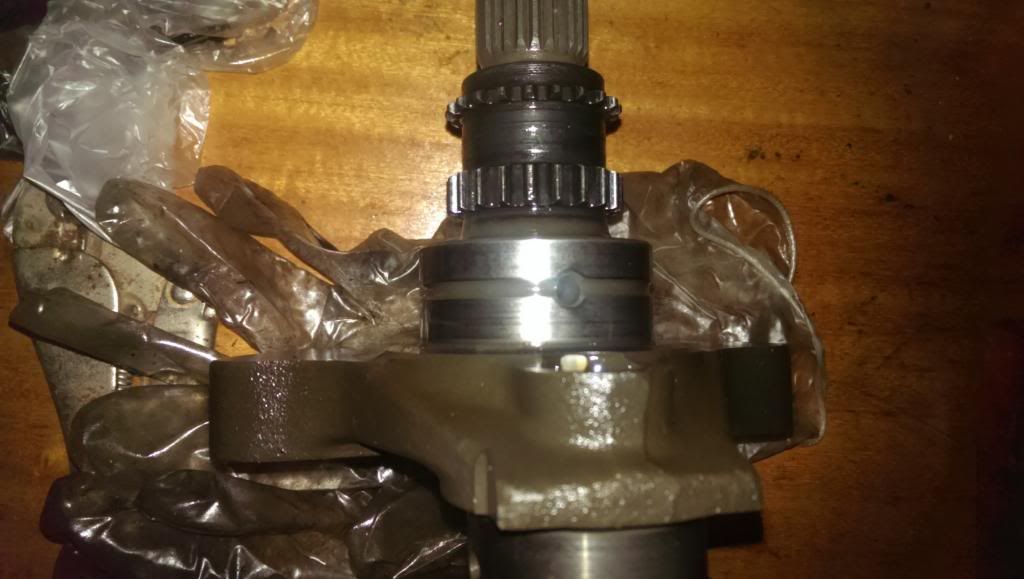
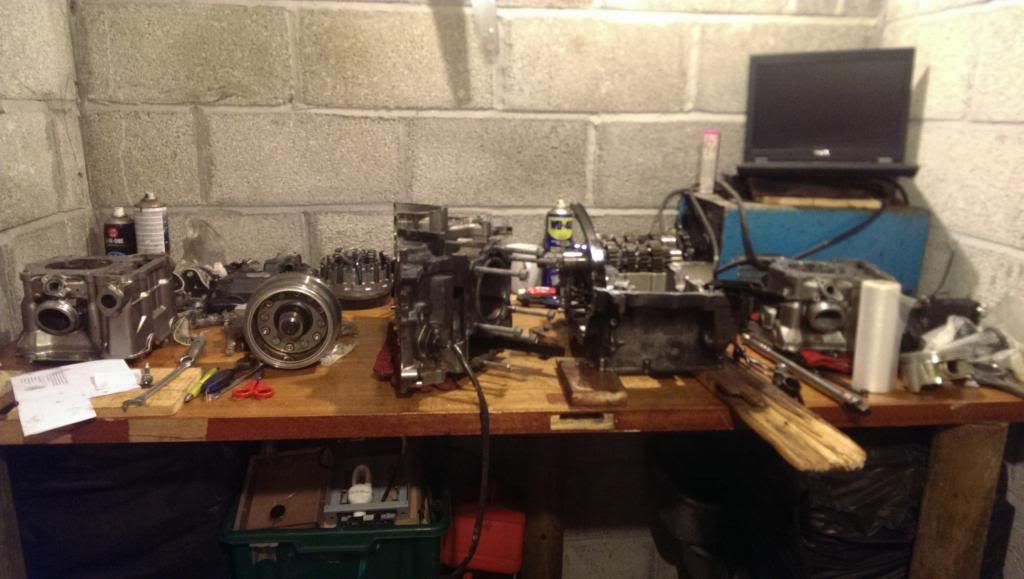
Well the clutch holding tool arrived today, so I set at the clutch centre nut again but was un-successful in removing the nut still, It would seem I just don't have the minerals as I hung off it with my breaker bar with another 12" extension ontop of that and it didn't budge, so I put that on the back burner for the moment and continued with the the bits I otherwise had access too. I removed and labelled up all the buckets and shims, put some plugs in and filled the combustion chamber with paraffin to try and loosen up some of the carbon.
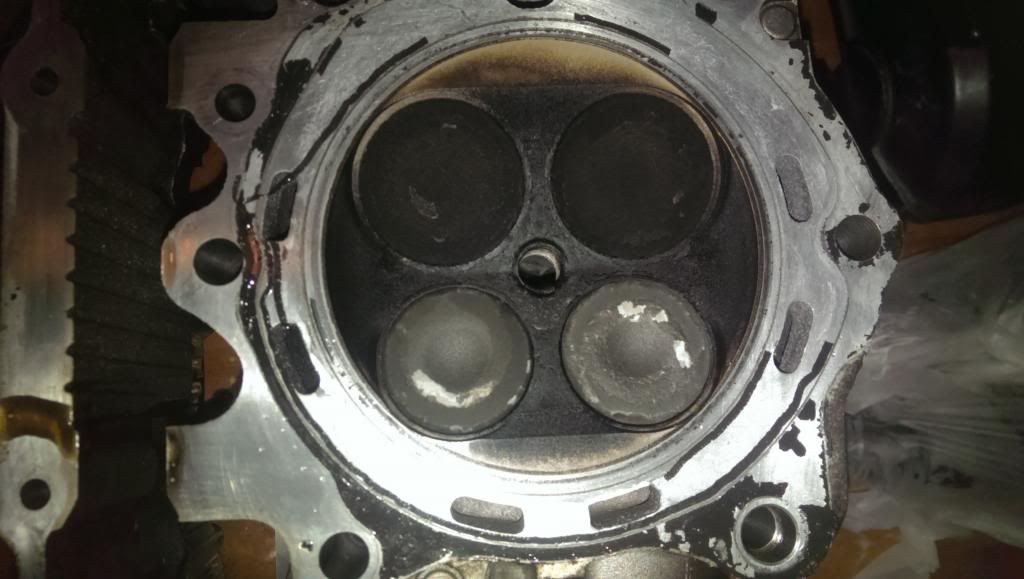
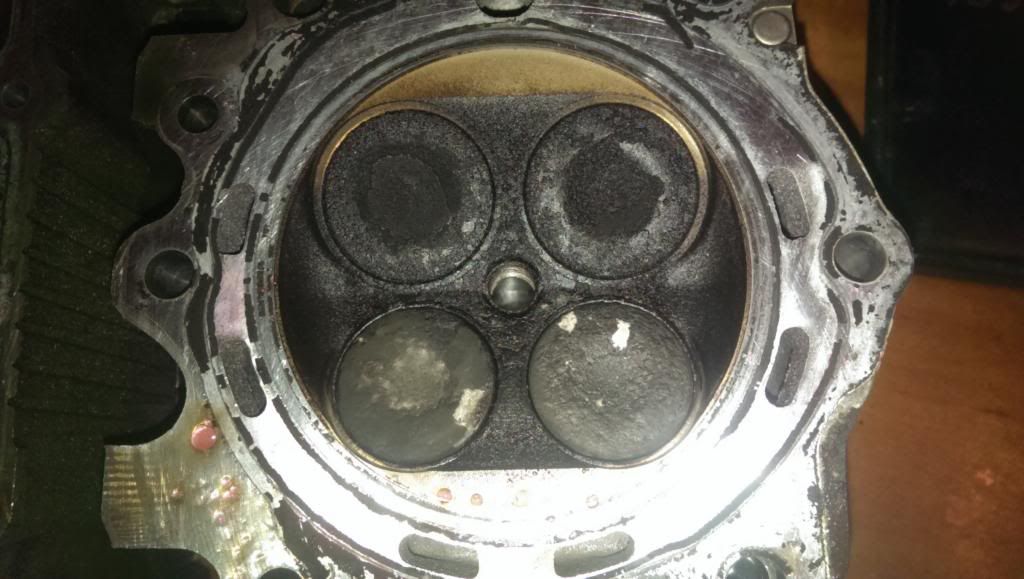
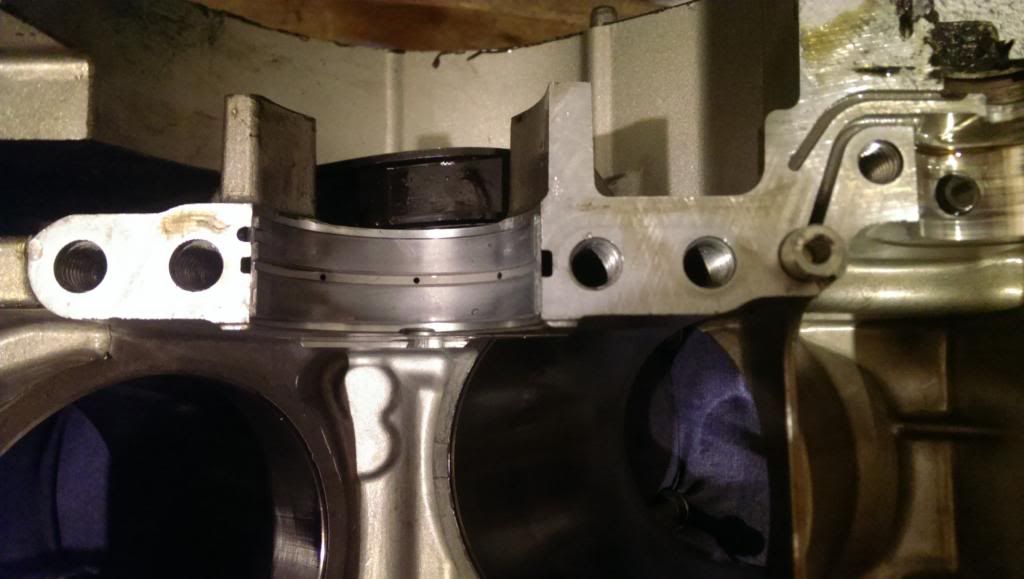
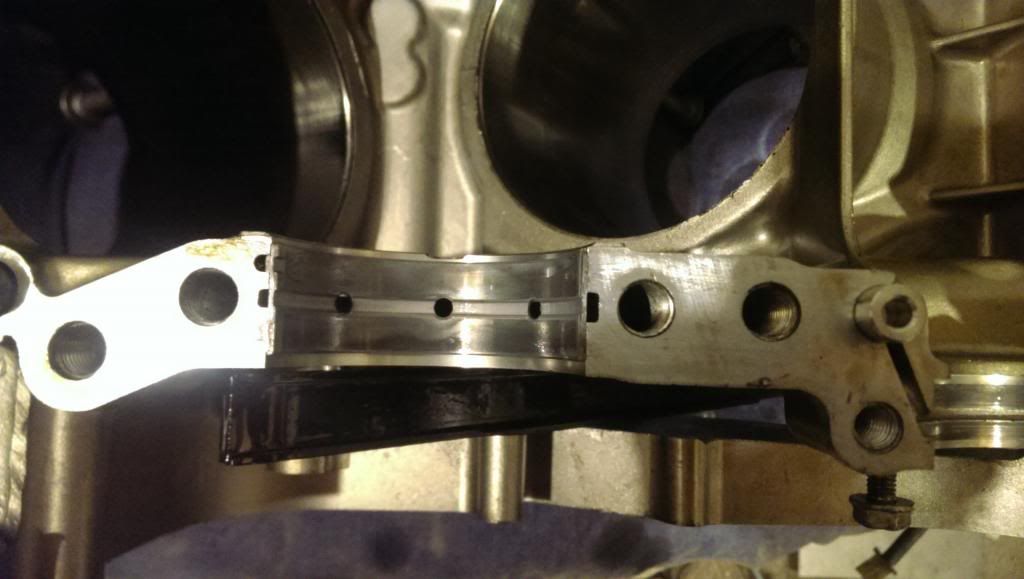
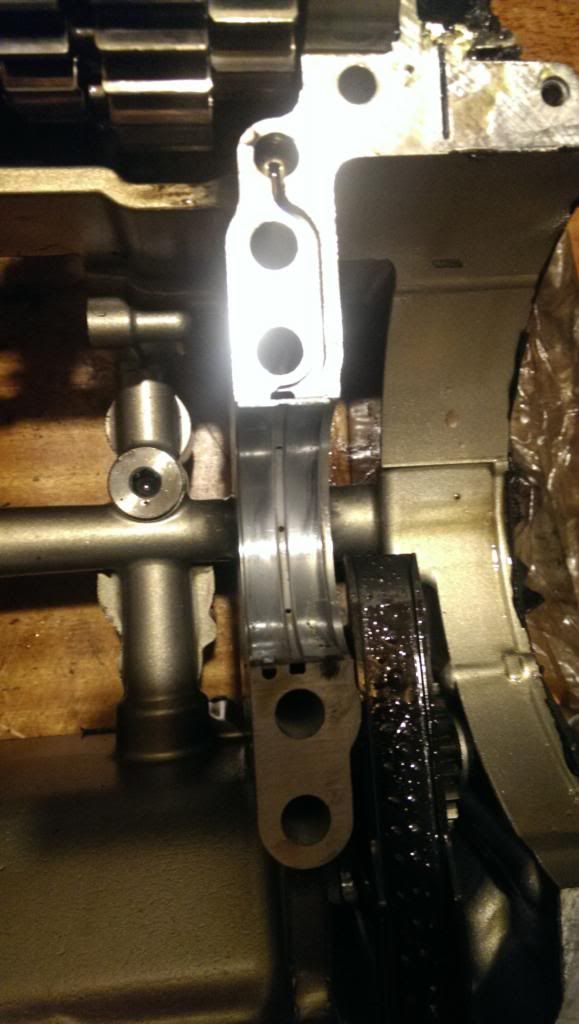
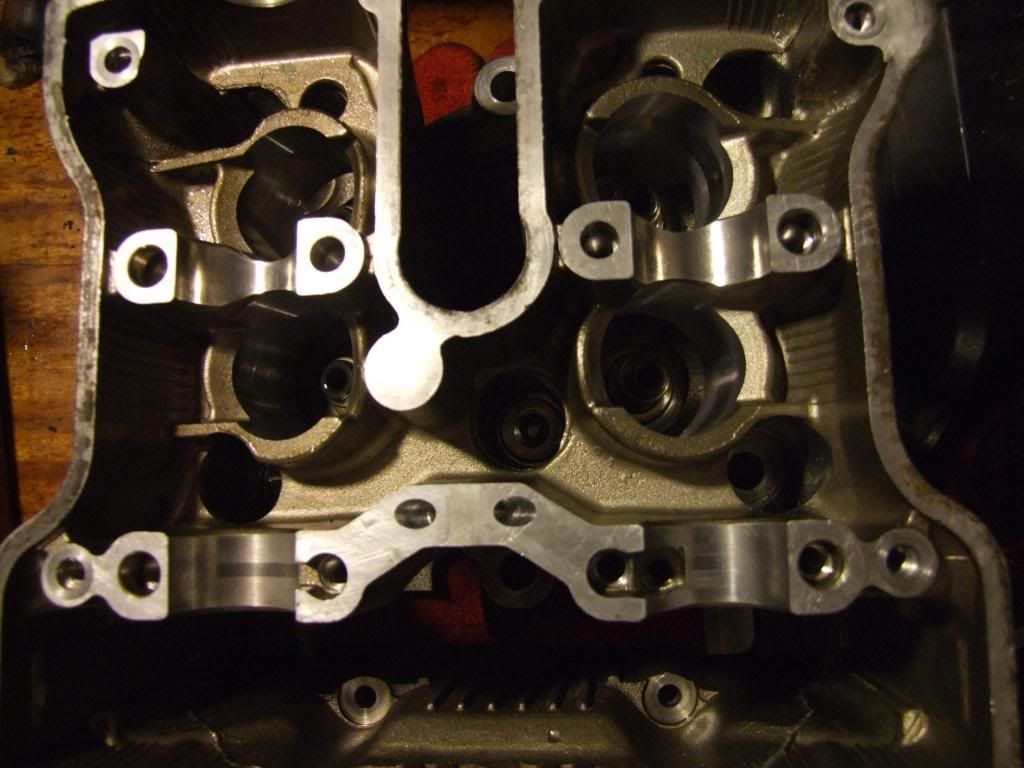
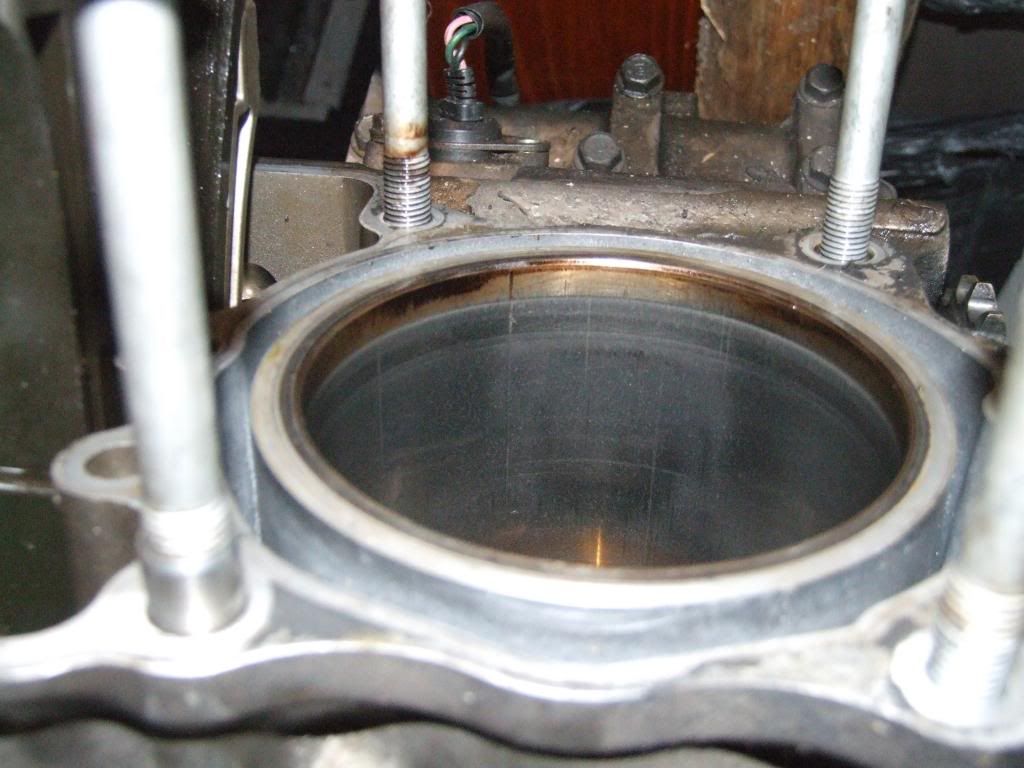
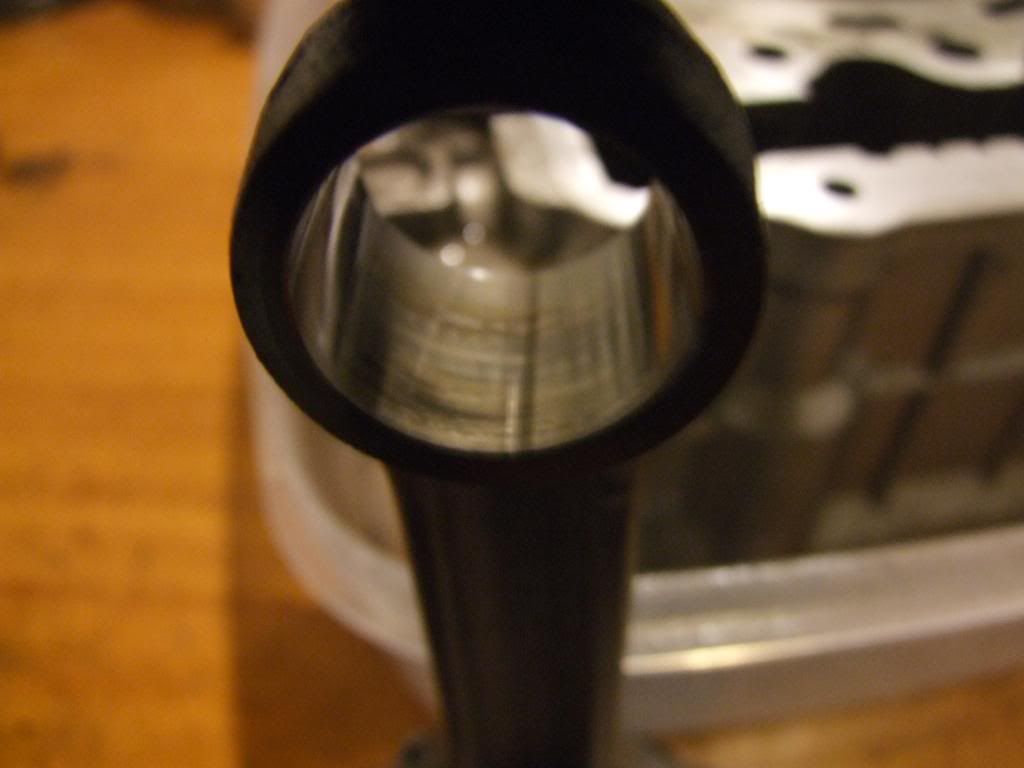
some scoring on the rear barrel, the middle left one seems major but the others seem minor, the big score seems to have been cause by some damage to the piston?
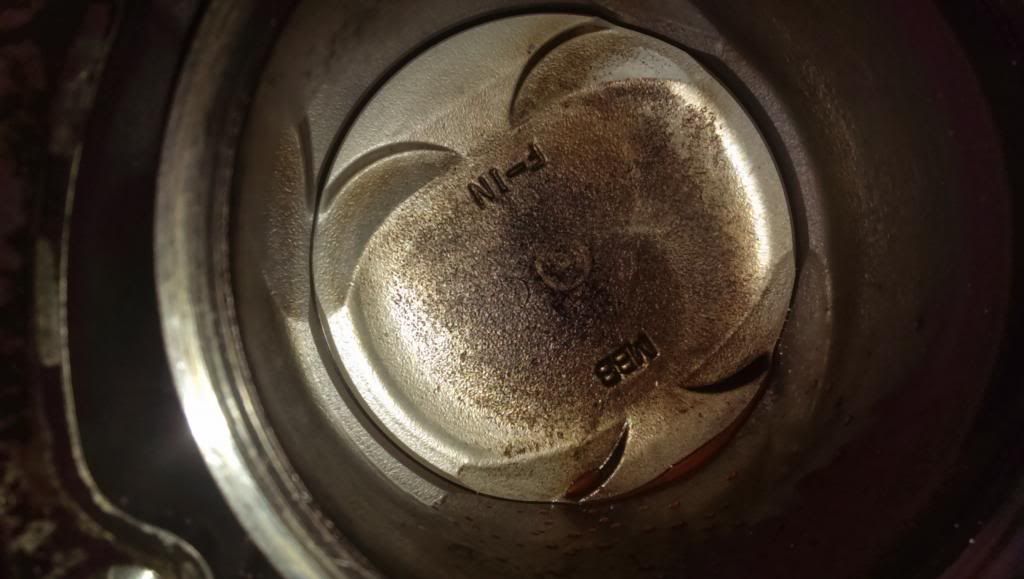
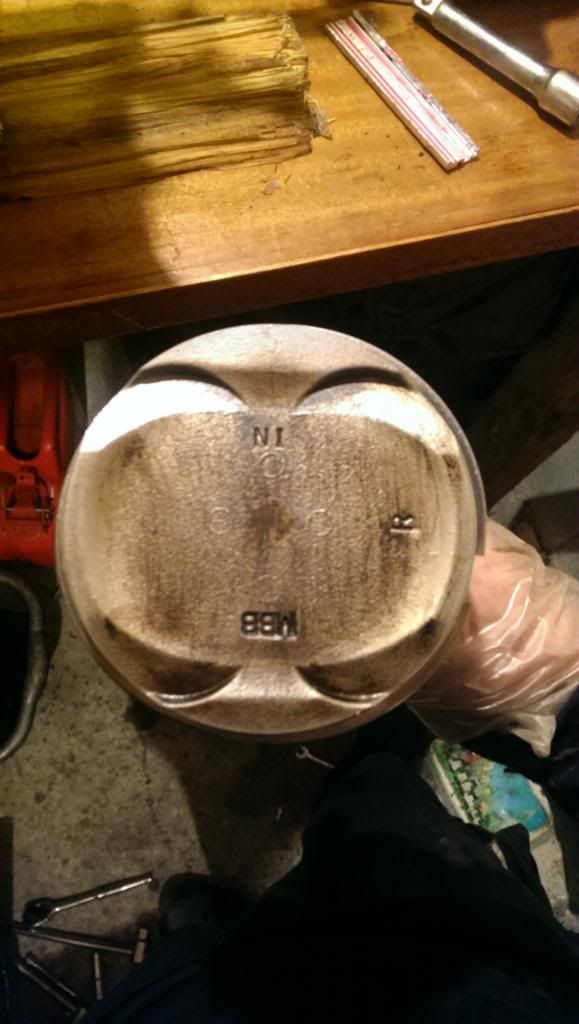
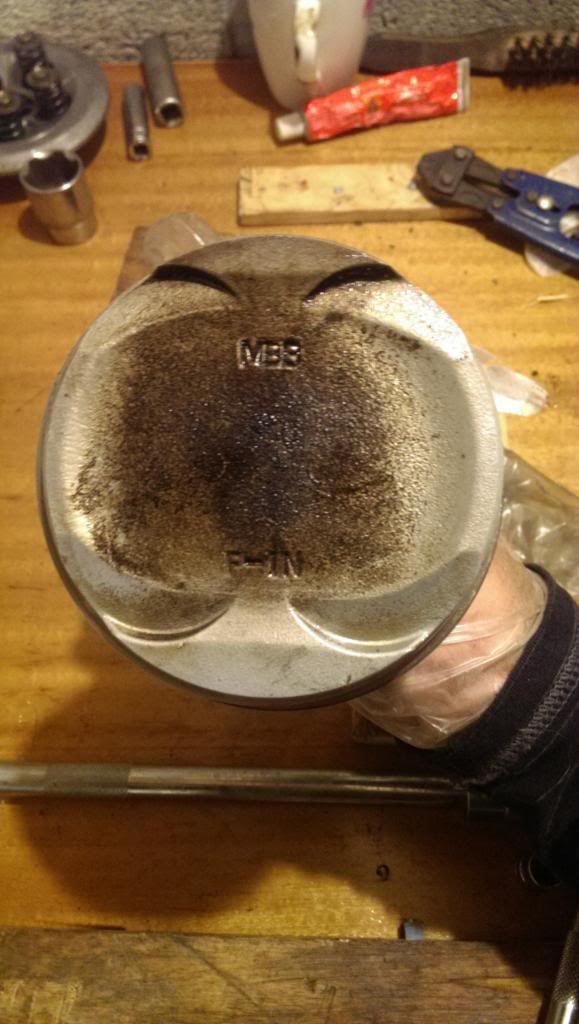
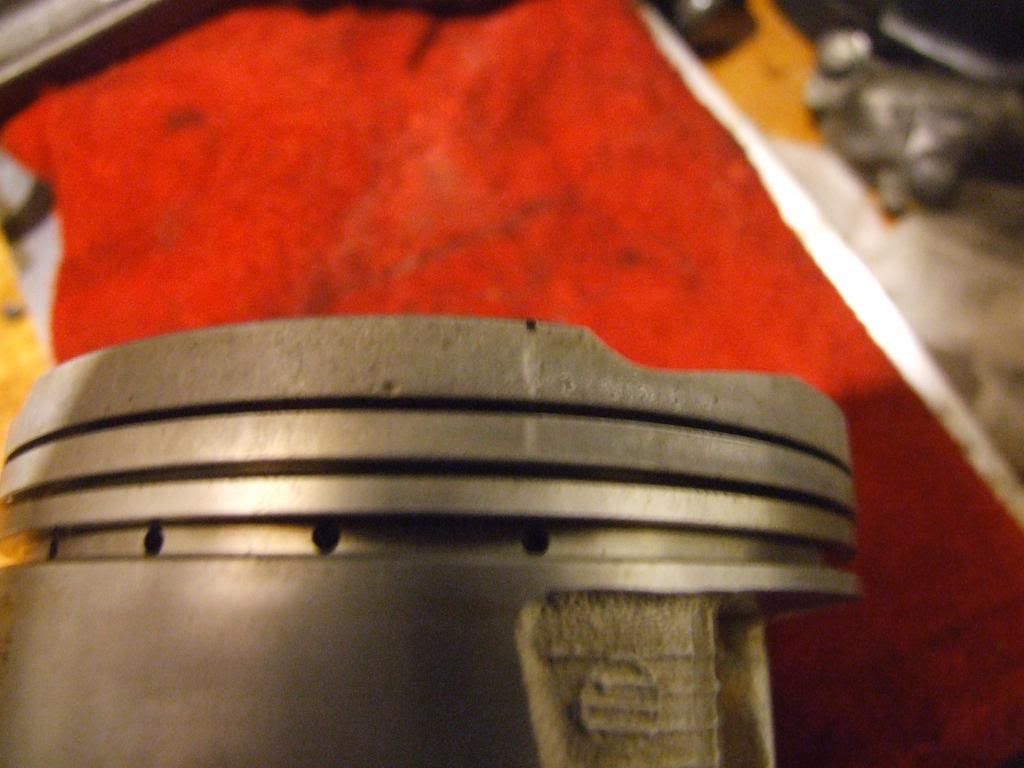
this is the corresponding mark on the piston which lines up with the big score, it looks like something has hit the piston or it was dropped before assembly, as it has pushed the piston material upwards into the crown area and judging by the size of the nick in the piston if it was something in the cylinder that caused it it would probably has caused a lot more damage.
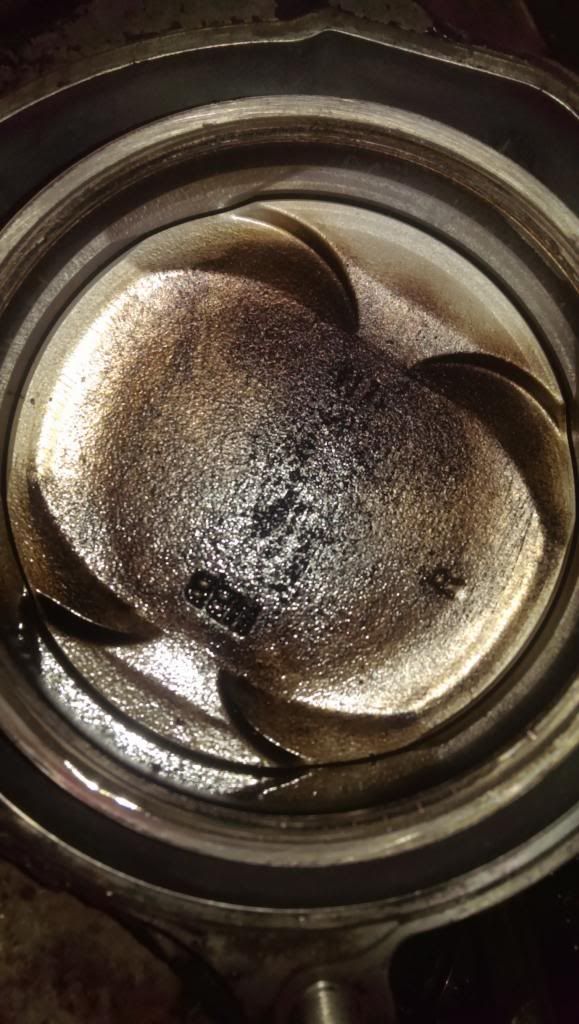
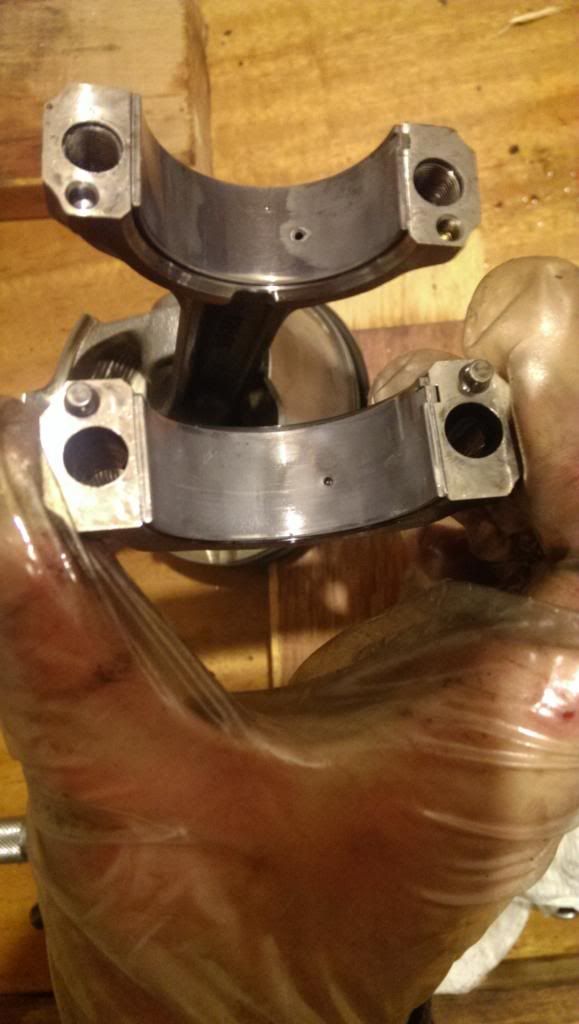
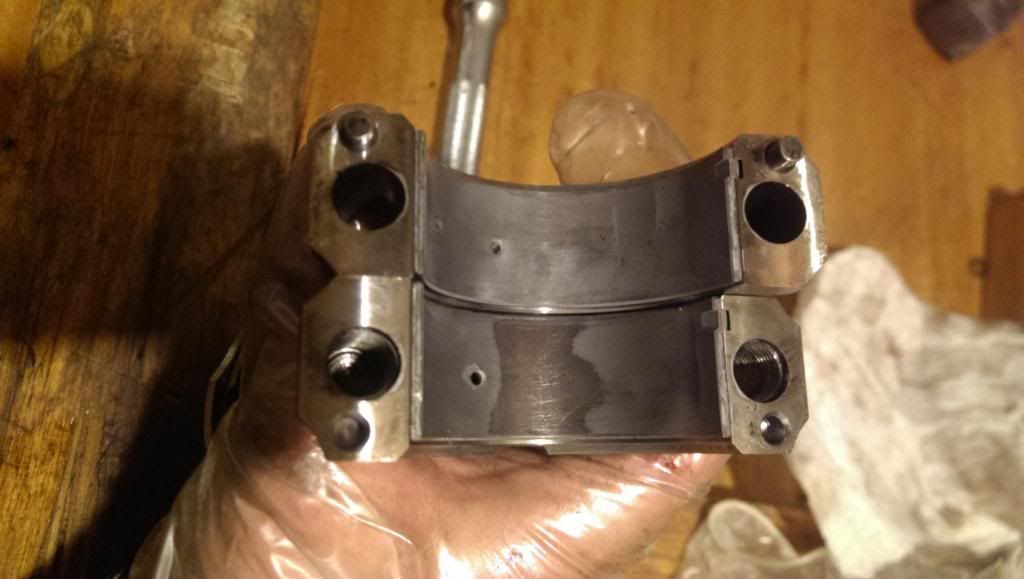
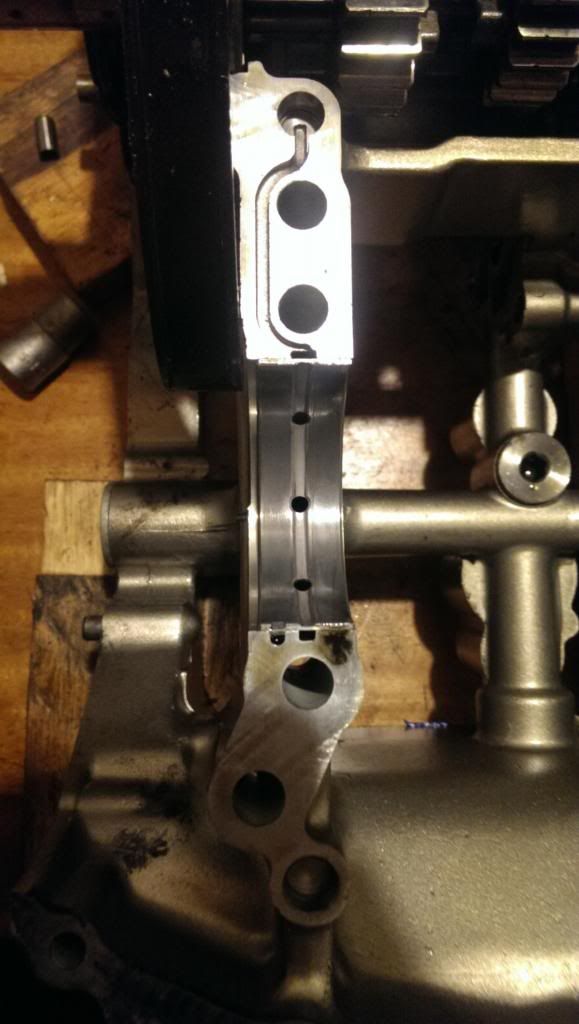
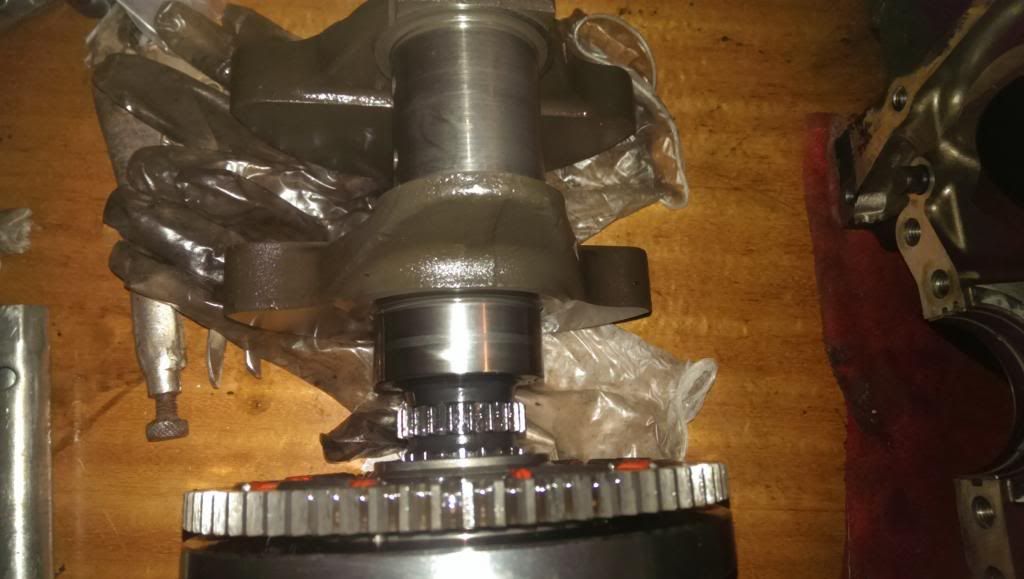
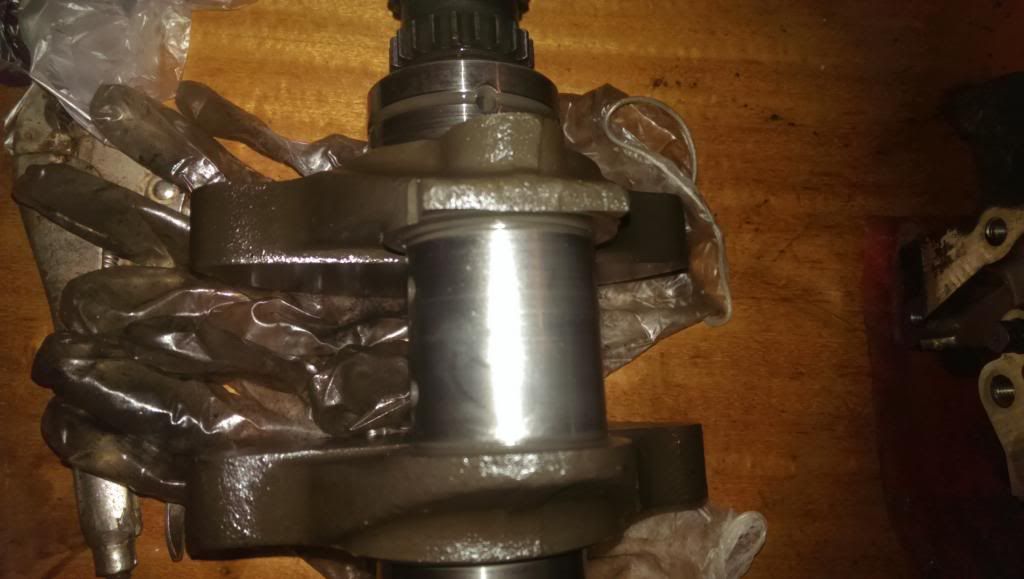
gudgeon pin looks to have taken some abuse on the rear pot.
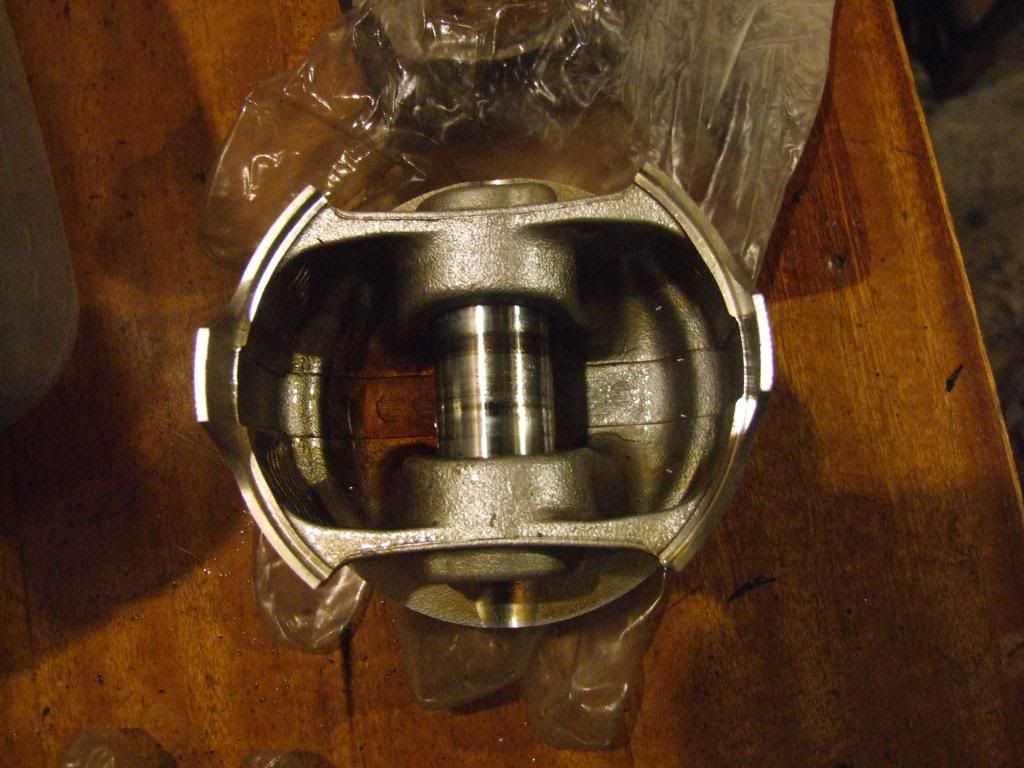
there is a corresponding black mark on the con rod on the bottom of the small end bearing.
Am i looking at replacement rods, pistons and boring the cylinders at a minimum? I can try and take some better pictures when its light outside!
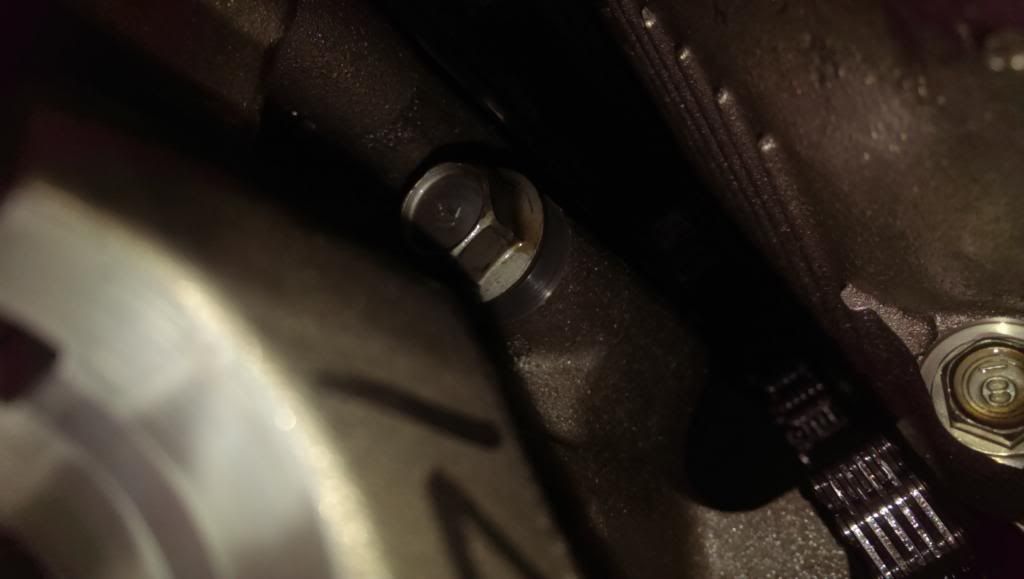
also any ideas for the clutch centre nut (yes I unstaked it!

)
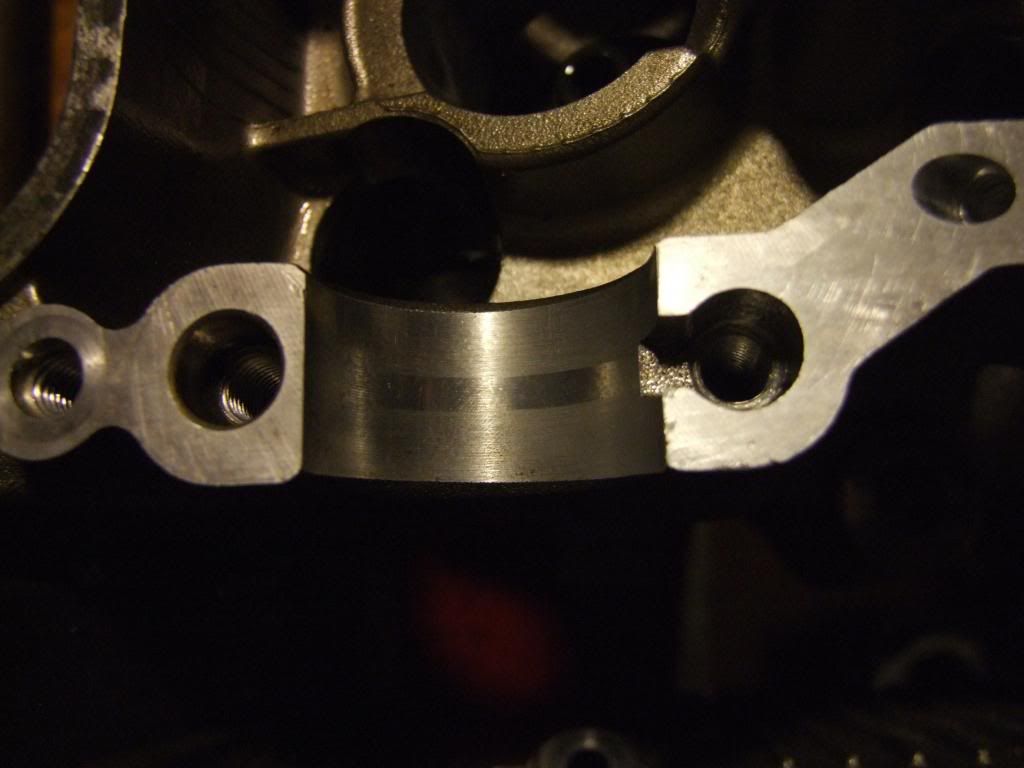
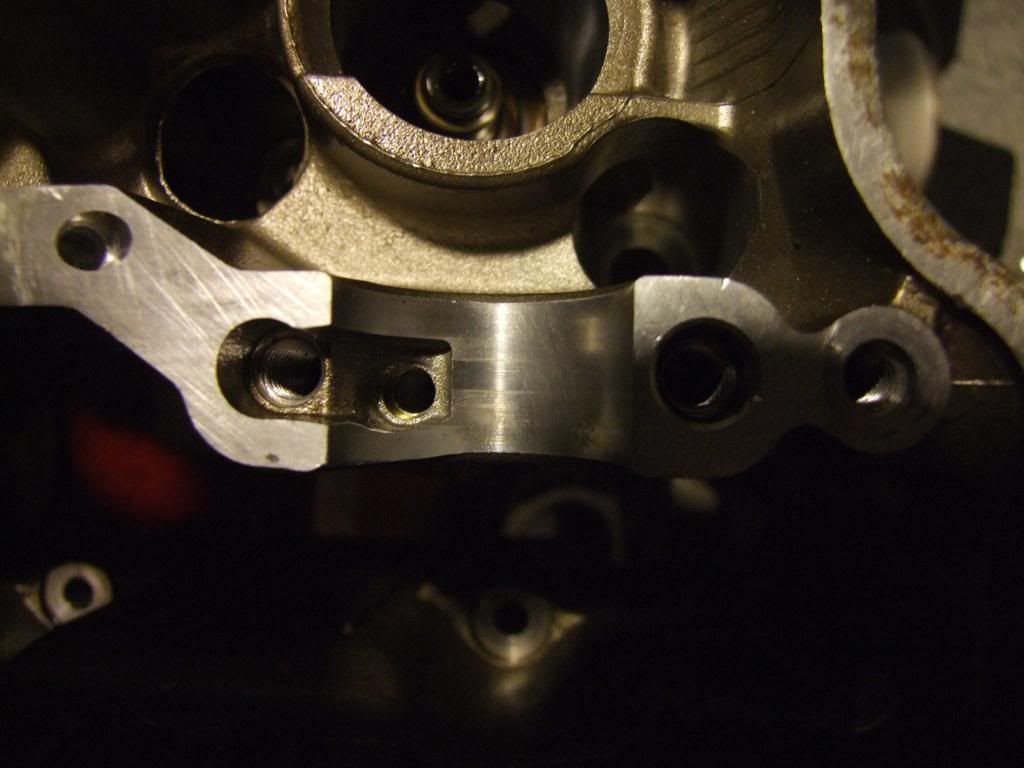
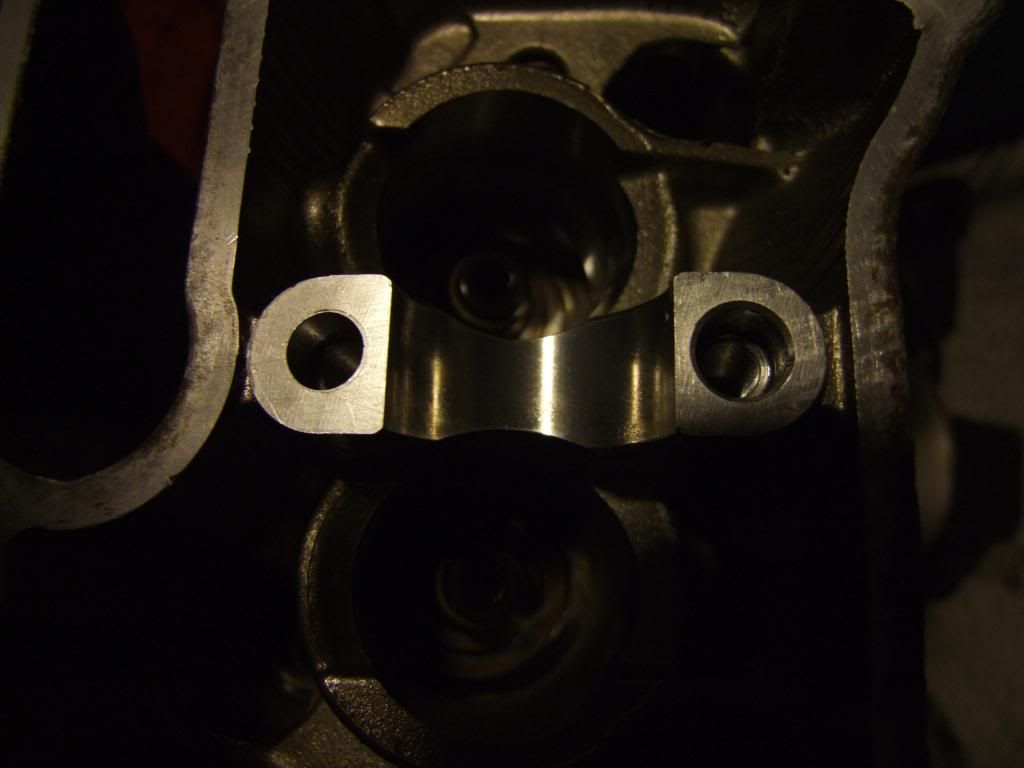
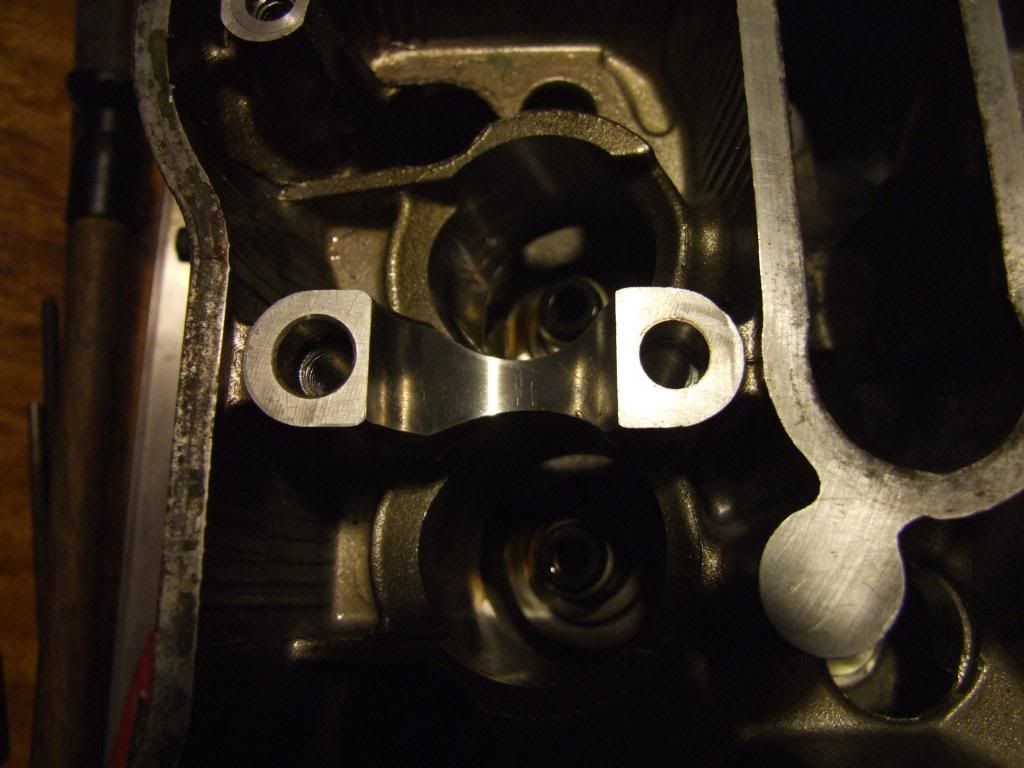
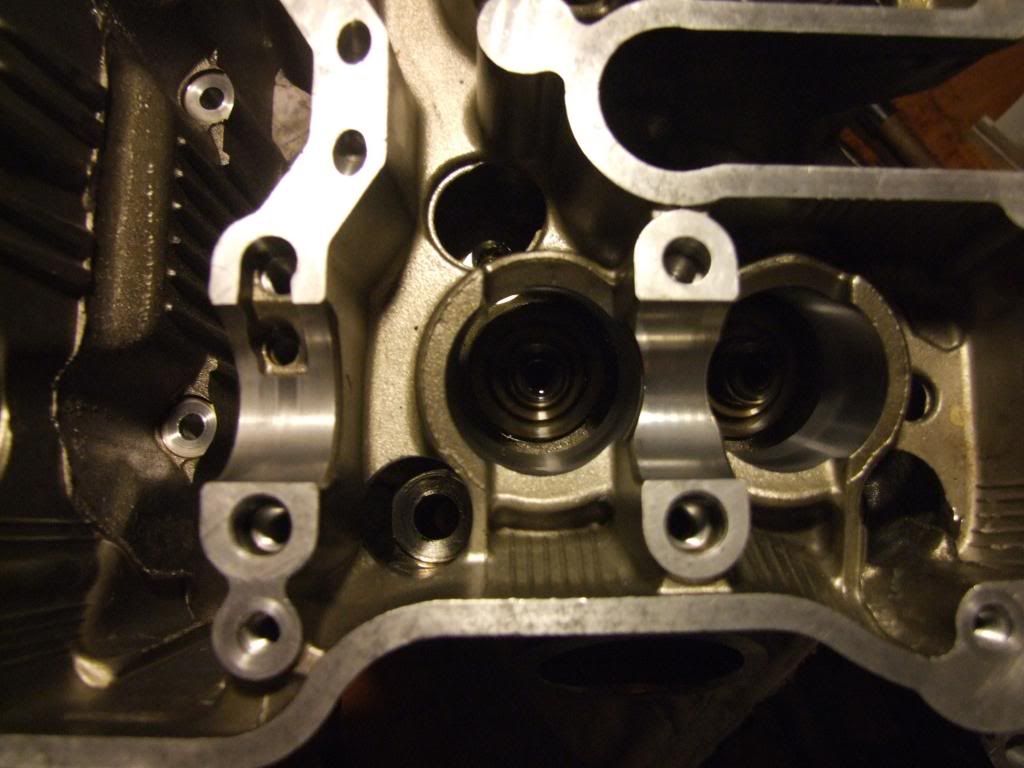
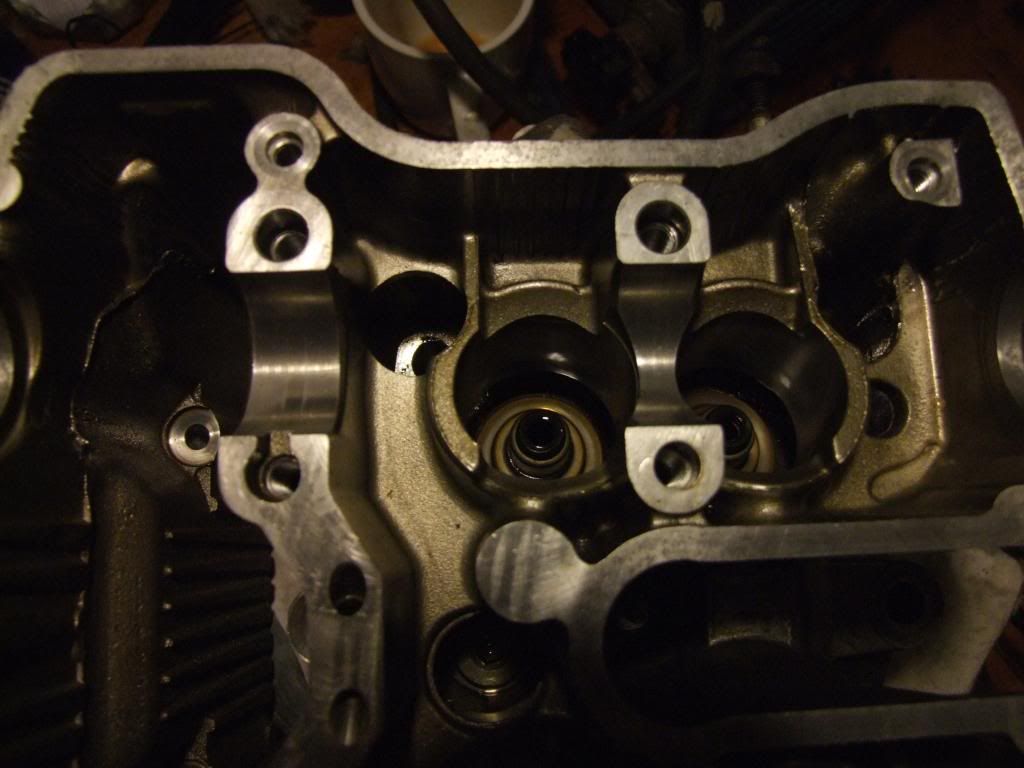
I worry about the cam bearings aswell as I did do the rear camchain tensioner up to tight then did 40 miles or so before I was able to slacken it. I will get some more photos of the cam bearings for an opinion?