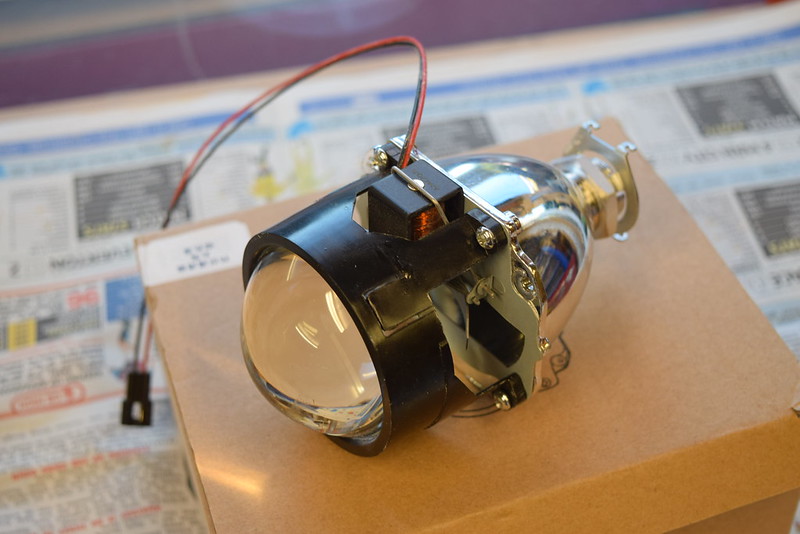
Made some more progress, after much searching ordered a projector headlight, hi/low beam 60mm for the bargain price of £9.99 delivered !!!
 DSC_0012
I really don’t know how they can produce and deliver it for under a tenner, I was expecting it to take a few weeks to arrive from China but it arrived in 3 days !! So now I need to get headlight into this.
 DSC_0019
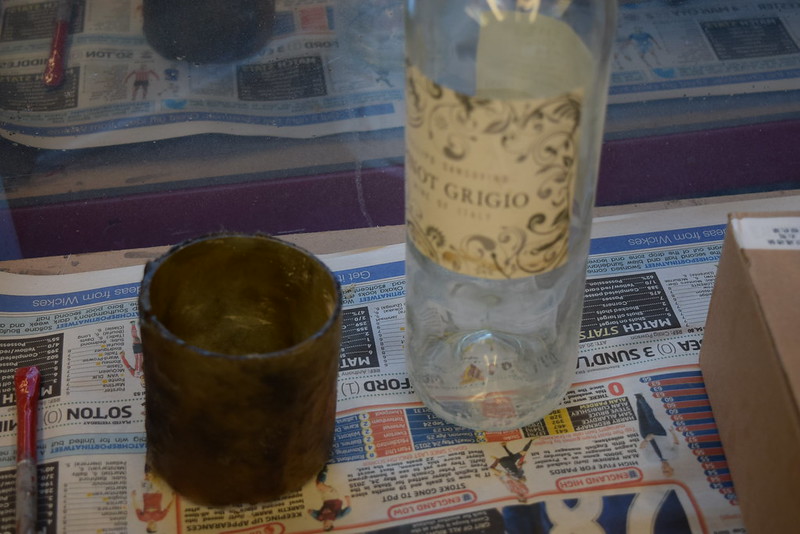
There is a site (motoforza IIRC) that supply a mounting tube for just this purpose and at £10 not unreasonably priced but when you add the postage £25 plus the VAT it starts to get quite expensive and there wasn’t anything else I really wanted to add to the purchase and make the postage worthwhile so I decided to make my own. The actual lens is 60mm but including it’s shroud it’s 64mm so I needed a 64mm tube to bond into the GRP fairing, so after wandering around the house and garage measuring everything cylindrical bottles of water/shampoo, bog roll tubes, various tin cans in fact I checked all manor of packaging looking for that illusive 64mm diameter, the winner turned out to be a wine bottle!!
 DSC_0011
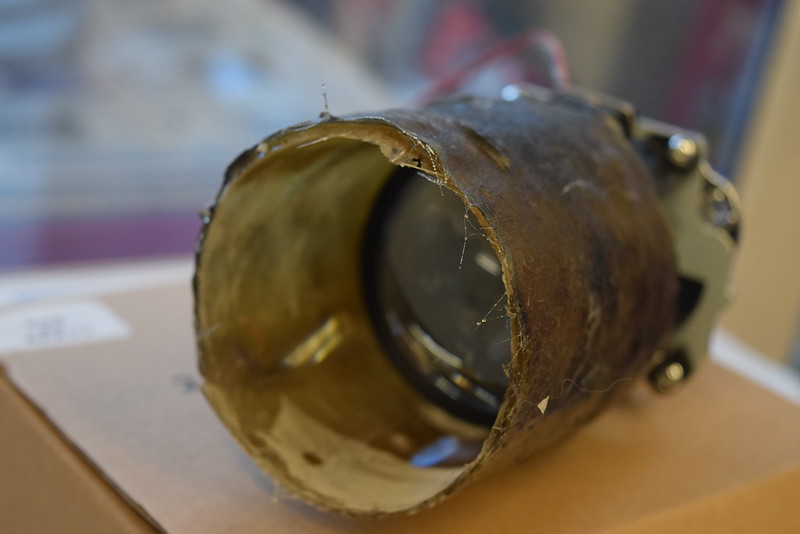
The wife just happened to have such a bottle laying about so with bottle in hand I set about making a suitable receptacle for my nice new headlight. First I coated the glass with wax ( Colonite insulator wax makes a great release agent) then painted on a couple of coats of polyester resin once that had cured a couple of layers of fine glass fibre matting, let this go off and then run the disc cutter down it and remove, and we have one GRP headlight mount, total cost probably about 50p the only downside is the missus guzzled all the wine.
 DSC_0016
 DSC_0015
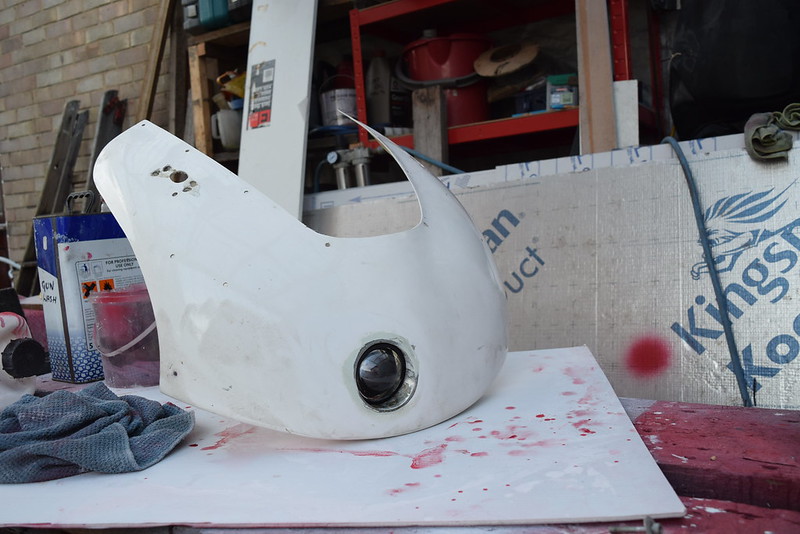
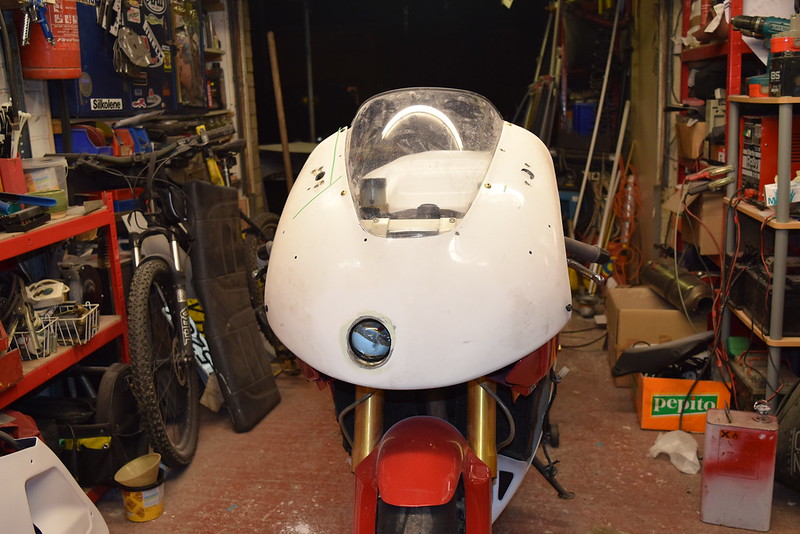
I’d decided to mount the light offset to the right hand side so I worked out where I wanted it and cut a hole then glassed it in and trimmed it down, now it just needs prepping for paint.
 DSC_0029
 DSC_0028
 DSC_0027
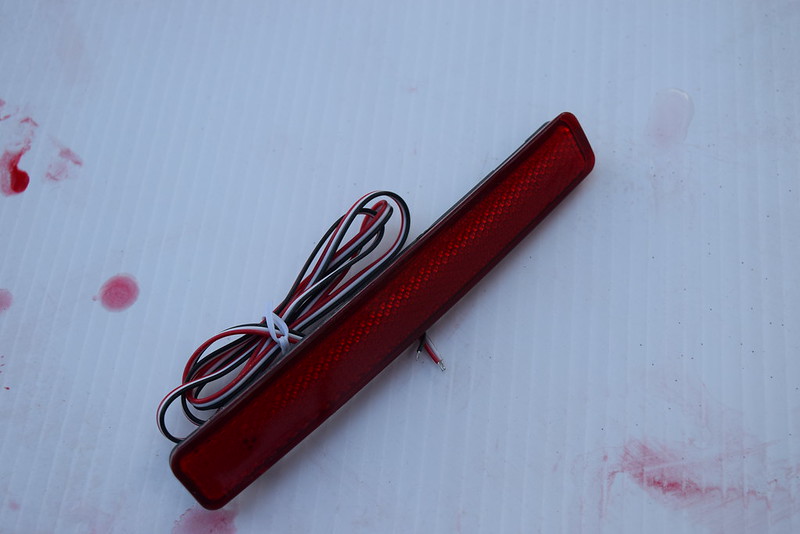
The rear light was a similar process, find something that was a suitable size and shape and then buy and make it fit. Again Ebay to the rescue, after a bit of searching LED lights I stumbled on a something that looked like it may do the job, it is a rear reflector for a VW T5 van, it turns out the new fad is to illuminate these bumper mounted reflectors to include stop and tail light, again bargain priced at £12 for a pair.
 DSC_0030
 DSC_0024
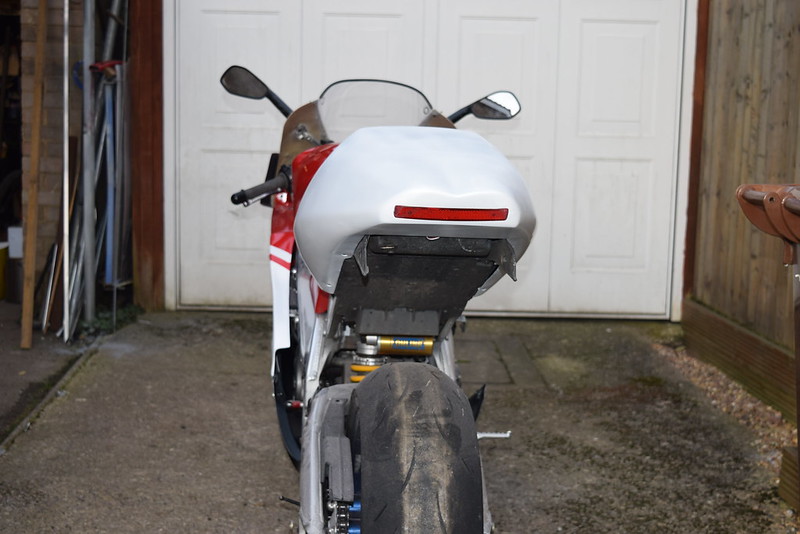
a bit of cutting filling and fettling it’s fitted and I have say I think it looks quite good, there’s a touch of Yamaha about, so that’s the lights sorted.
Next job is to start the painting, here it’s been 1 step forward and 2 steps back, I’d decided red/white and black along the lines of a limited edition Panigale, first I prepped the belly pan, tank, side panels and air ducts, filled where necessary, sanded, primed, flatted ready for paint. Now one of the issues it me being a tight b8stard I already had a litre of Ford Radiant Red so I thought that will do, I also had some Nissan white but this just looked a bit grey so I decided to get some ‚ ’whiter white’ so I ordered ½ litre of Arctic white and also a ½ lire of jet black, I normally used 2K basecoat and lacquer so I ordered the white and black in this form. Then discovered the Radiant Red was 2K enamel (which doesn’t require the clearcoat) not the end of the world but it’s not best practice to mix systems, it just means I’ll have to flat the red back and clear coat the lot so it’s a little bit more work and care as to be taken when painting one over the other as the enamel if not fully cured can react with when you paint over it. So the first coat would be white basecoat with the red over the top and white with black over the top on the belly pan, so white on and dried black on the belly pan and looking good. The first real problem (my rock up really) came when I decided to use masking tape to mask the lines on the side panels and tank , why I did this I’ve no idea particularly when I’ve just used lining tape on the belly pan and tank, anyway the results were predictably not great as the red bled under the masking tape something rotten, bugger !!
 DSC_0017
Still the tank came out alright, nice finish no specks to dirt or dust top job then disaster, I’d put the tank on a cardboard box to allow me to paint the underside edges, so I put the halogen light on and go clean the gun then I hear bang, the bloody box as only collapsed and the tank as rolled off the bench onto the garage floor, double bugger !!! so now that needed re-doing along with the side panels, not happy and pretty much a full afternoon wasted, I haven't got a pic of the tank damage because I had to go inside and chill out or something was likely to get broken.
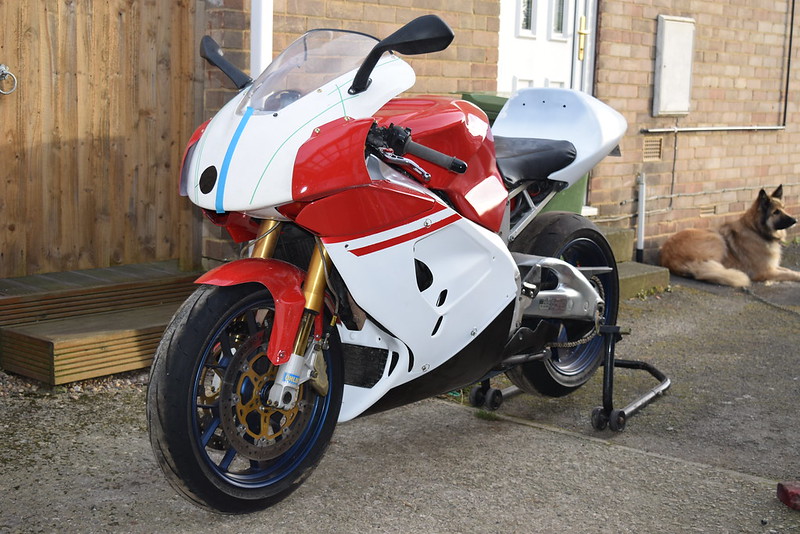
I’ve now got these sorted and I think it's starting to look OK, it will be getting stickered up once the paint is finished.
 DSC_0021
I can now move onto the nose and tail pieces hopefully these will proceed without further issues.
Also got the RCS M/C fitted and created the required clearance between the body of the cylinder and the dash on full lock.
 DSC_0020