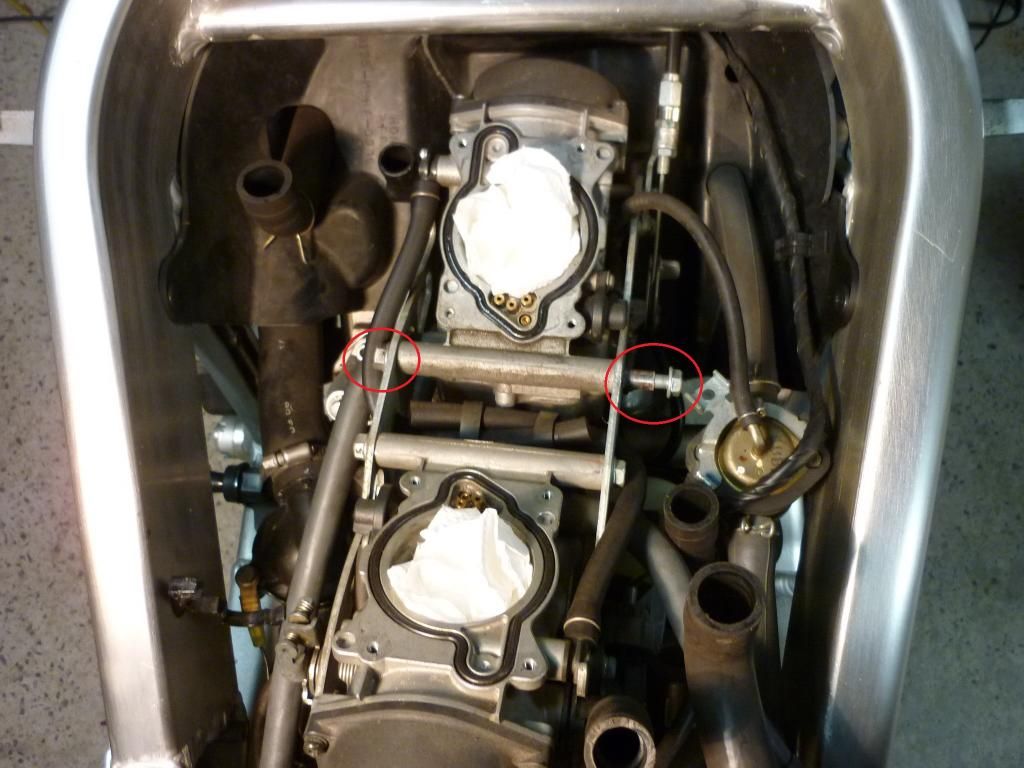
BTW (being paranoid) which nut is it best to back off to remove the cables from the carb attachment?
the one on the wire cable side is best.
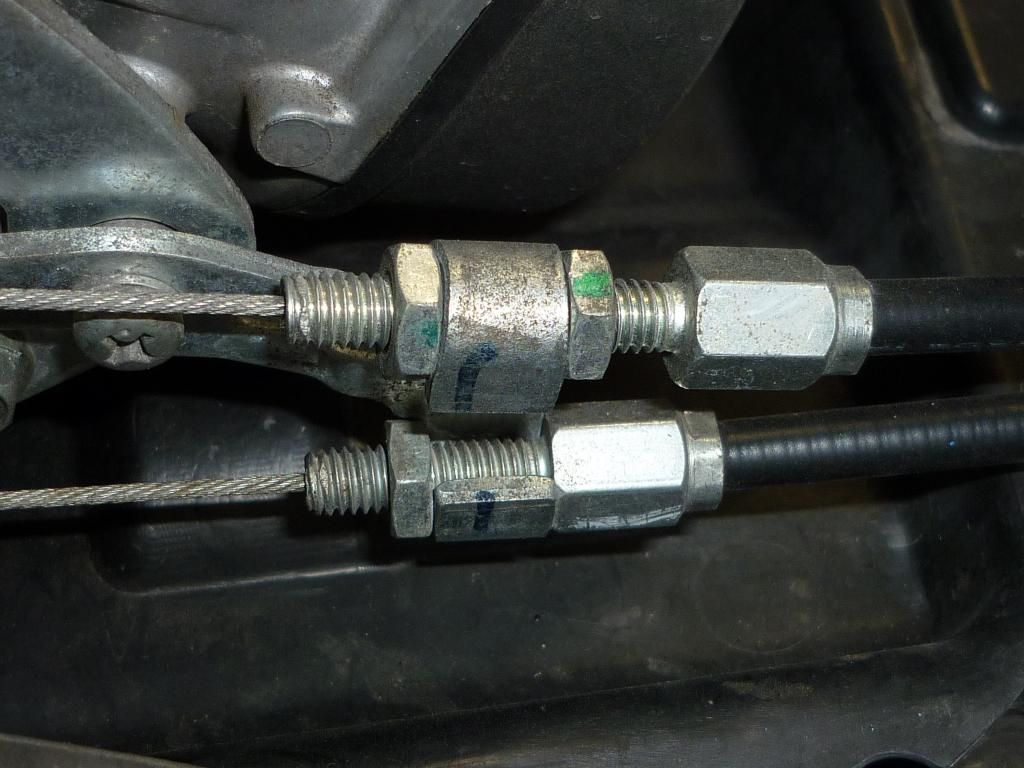
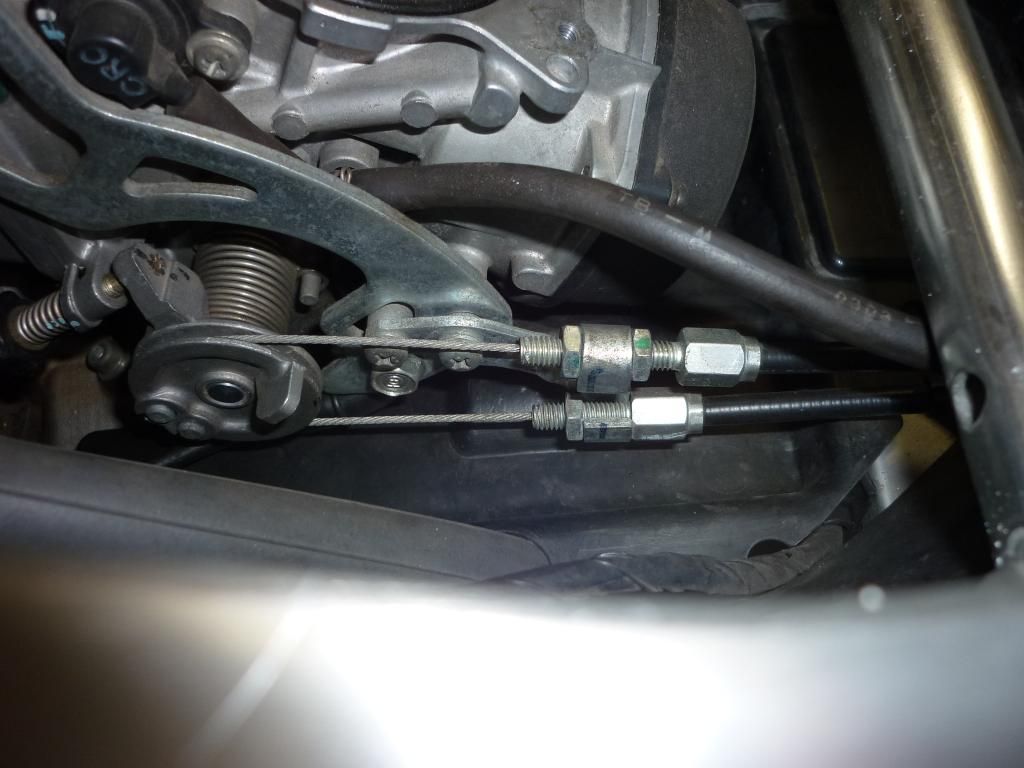
I also notice that the return cable does not have any adjustment, is this normal?
Yes perfectly normal. Handy as well, because it means one can visually see a difference between the two, so not mix them up when re-attaching. The bottom inner nut (wire side) is awkward to get to especially if the top cable is already in place. I find all you need to do is rest a finger against it and loosen the other longer end a bit. Then use your fingers to spin it around which loosens the smaller nut off more.
hanks Wicky, I will be careful. I always use a torque wrench when tightening anything up on my bikes. I have an inch/lbs wrench I use for the small bolts.
That's exactly where things can go wrong, especially n smaller weaker bolts. Most people don't account for a bolt that has stretched from being removed so many times and/or been overtightened in the past. Cam cover bolts it's just a case of nipping them up. It's only a 10mm spanner so go easy, no need for a torque wrench with masses of leverage. Don't forget the rubber seal that sit under the bolts and make sure you get them the right way up.
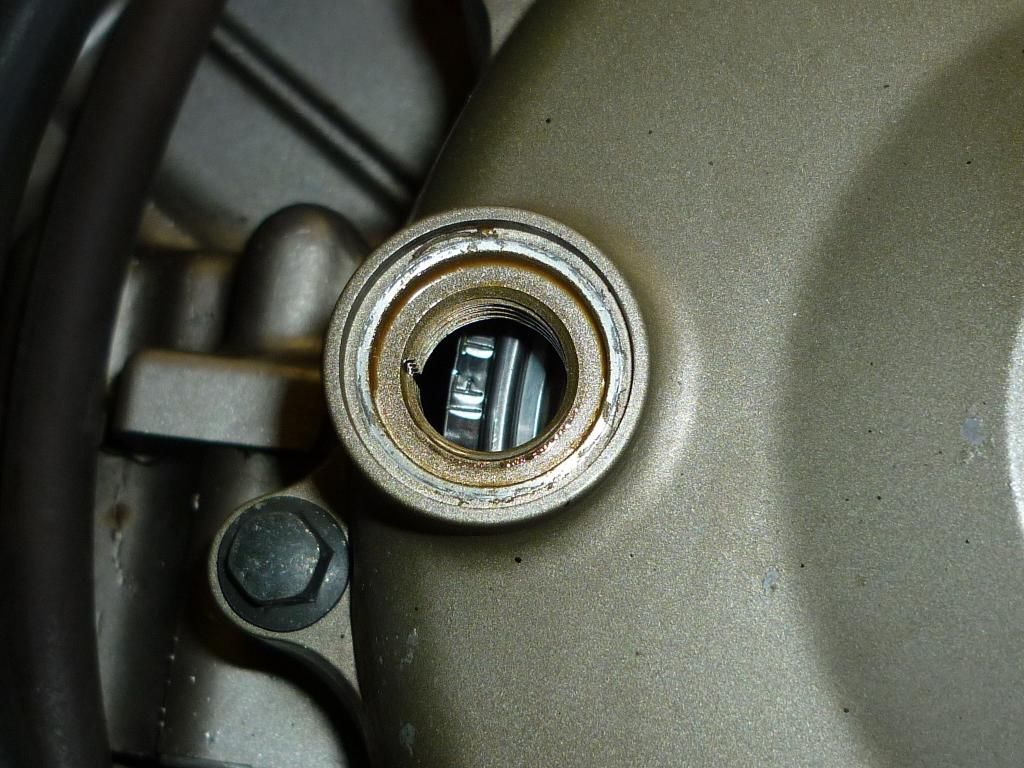
So am I ok to now remove the front CCT? Do I have the motor in the correct position -- TDC on the compression stroke for the front cylinder?
Crank is OK. If you verify that the front cam lobes are pointing up and outwards then your on the compression stroke so good to go. NOTE If your starting from the front then it wont be 450 degrees 1 1/4 turn to reach compression on the rear but 270 degrees 3/4 turn. Verify this with the the cam lobes once again which on the front will be pointing upwards and inwards. You also have the horizontal line markings, RI and RE on the cam sprockets themselves.
Using the valves as a guide (valve guide


) can be done but is not the most accurate way of doing things. Both valves closed will overlap onto the power stroke. If you want to see the exact point as to when and where the valves open, close and overlap then see the diagram roughly a 1/6th of the way down the page in the following.
http://www.vtr1000.org/phpBB3/viewtopic ... 31&t=33343
(:-})